Build a Rustic Potting Bench
Twig and Barnboard Potting Bench Plans
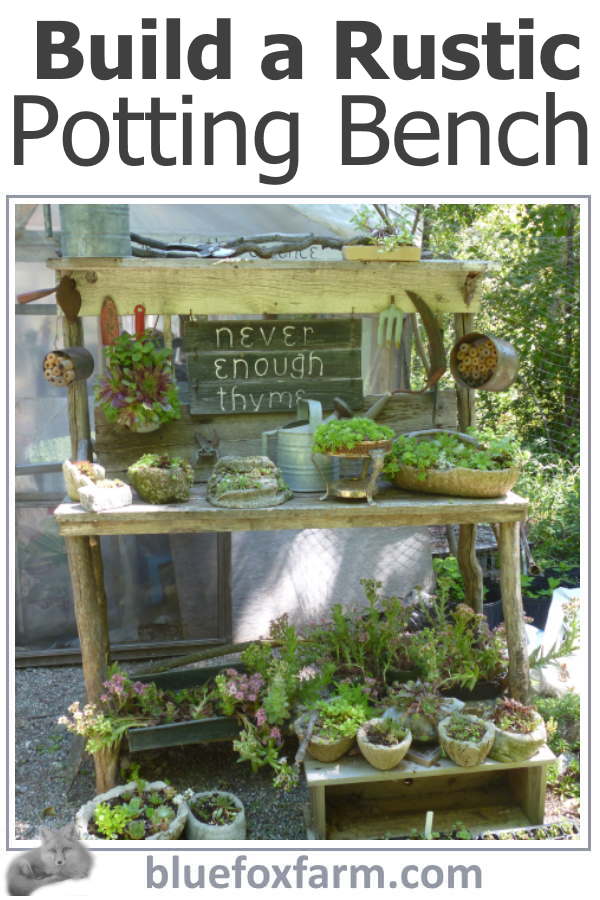
Build a potting bench from twigs or barnboard using these potting bench plans. Every avid gardener needs a custom diy workbench in the garden.
One of my favorite materials to work with is twigs - these can be found almost anywhere, even in urban areas.
Use your imagination to find branches that are being discarded to build a potting bench with.
Make friends with the local municipal workers, and find a couple of helpful landscapers or arborists.
An ad in the local paper in the spring time will often get you some great twigs as people do their pruning.
Keep your eyes peeled for old barnboard, fencing or driftwood - these are best for the top shelf and the work area; the more weathered, the better.
Cutting Guide for Building a Potting Bench:
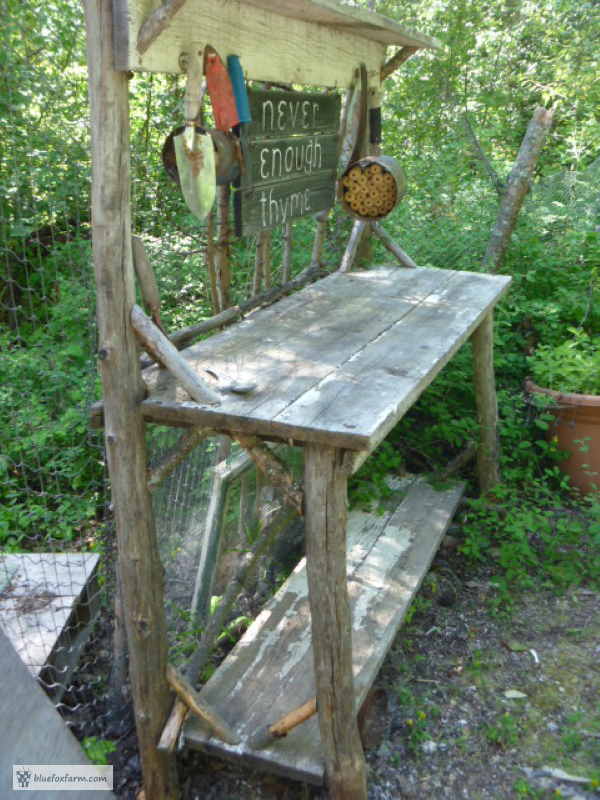
Cut two back legs and two front legs - these should be cut at the right height for you to work at - measure your kitchen counter and decide if you need it higher (if you're taller) or shorter (if you're not).
Making sure these are the right height for you is important - there is nothing more guaranteed to make you tired and cranky than working at the wrong height potting up your seedlings.
The back legs can be any length as they will be holding the little top shelf.
Cut four more pieces the same as the back legs for the front and back pieces.
Also cut four side pieces and several diagonal braces. The side pieces are usually about half the length of the legs, for a rough guide.
The width is dependent on the width of the boards you will use for the top working surface, so is variable.
Building Your Potting Bench:
Assemble the side pieces - two sides, one back leg and one front leg for each.
Important note: always drill pilot holes when assembling twigs - the wood is easy to split when you go to nail or screw the pieces.
Use a drill bit smaller than the nail or screw so there is something for it to grab, and don't drill the hole too deep. Leave the screw or nail with something to do, holding the wood together.
Tap the nail on the point to dull it, and there will be less risk of splitting.
Make up the side pieces flat on the ground, and check by stacking them to see if they are the same.
For the next part, find a helper to hold the sides upright while you attach the back and front pieces.
Once all the pieces are attached, go back and reinforce all the angles with a diagonal piece. You'll notice as you go around the piece, each time you nail or screw one of the diagonal pieces, your potting bench will get sturdier.
Make sure you build your potting bench on a level surface, a concrete patio or piece of plywood on the ground so the finished potting bench will be plumb and level.
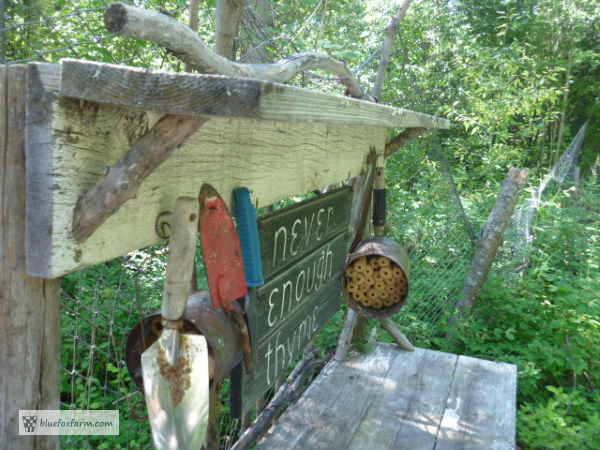
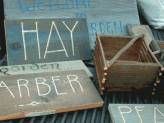
Using barnboard or other wide planks for the work top is one of the final steps, along with a rustic garden sign to decorate it, and some eclectic rustic salvage or vintage garden tools.
Cut these a few centimeters longer than the front and back pieces so they hang over the edge.
More pilot holes, nail these in place.
Another narrower shelf at the top of the back legs and braced with diagonal pieces, and a shelf below for stacking your pots and flats on while you work - congratulations on successfully building your potting bench!
Get your free potting bench plan guide;
If you would like more and clearer pictures of this project, sign up on this form with your name and email address and build your own potting bench;
Learn what it takes to be creative - we all have the gene but how do we develop it? Get the free guide!
Fill in the form below for your copy;
(Don't be disappointed - use an email address that will accept the free download - some .aol email addresses won't.
If you don't see your download within a few minutes, try again with another email address - sorry for the bother.)
