Driftwood Dining Table
Rustic Character for your Garden Decor
Jacki Cammidge is a participant in the Amazon Services LLC
Associates Program, an affiliate advertising program designed to
provide a means for sites to earn advertising fees by advertising and
linking to amazon.com. Other links on this site may lead to other affiliates that I'm involved with, at no extra cost to you.
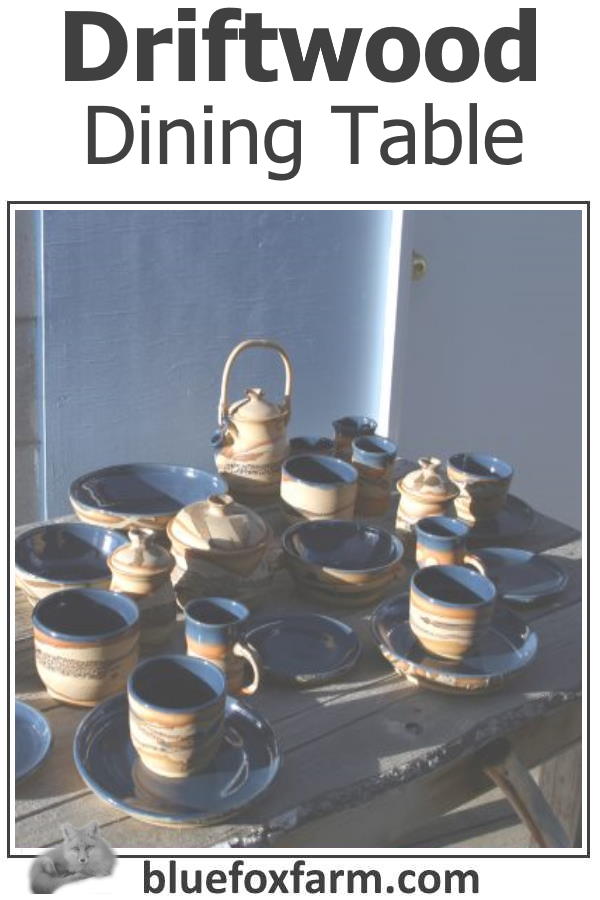
Imagine the following scene: a driftwood dining room table in your gazebo, set with antique mismatched plates and mason jars for glasses, a huge garden bouquet of seasonal flowers in a rusty enamel urn, and tin can lanterns for light. Other thrift store finds complete the look.
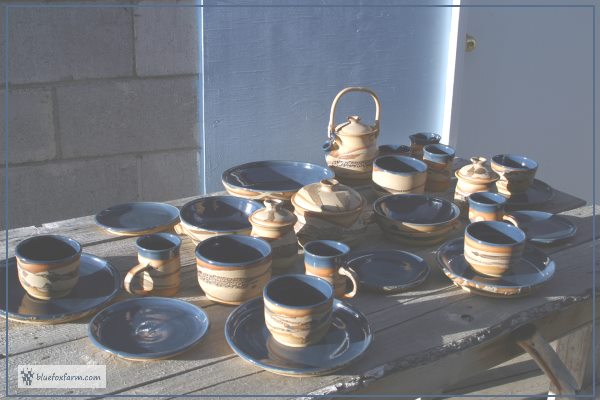
Handmade pottery, maybe some burl bowls or other treenware to hold buns or fruit and you're all set.
Your guests are arriving, and their gasps of delight and the looks of enchantment on their faces are so satisfying. Providing a feeling of romance, rustic garden chairs with cozy plaid cushions, place mats made of willow twigs and twig coat hooks await their coats.
Your driftwood table will be rustic and sturdy, built to last from wood weathered by storms, left for you to find on the sand.
If you don’t happen to have a beach handy, you can also distress and otherwise fake the same look by placing the boards salvaged from an old barn, fence or other source on the driveway and carefully drive your vehicle across them a few times.
A sandblaster can take the rough edges off, then either set them in the sun to weather for a month or two, or spray with a 10% bleach solution to lighten them.
Eventually, your distressed boards will look almost identical to those that Mother Nature takes years to make, in a fraction of the time, perfect for making into a driftwood dining room table or other rustic craft.
Here's how to make your Driftwood Dining Table:
The size will depend almost completely on the size of your driftwood. If you’re using planks that are weathered right to the ends, the last thing you want to do is cut those off, so arrange your pieces beforehand and decide on the dimensions.
Each driftwood dining table you make will depend on the size of the pieces you have available. I’m always reluctant to cut ends off the pieces of driftwood as you’ll destroy the patina, which can’t be replaced.
Use 4x4" wood posts, large branches, or even the turned posts from old beds to make the legs. The height depends on the height of your chairs that you plan to use, but the most common height is 76cm (30 inches) to the table top.
Cut the legs to the same length, adjusting the measurement depending on how thick the planks for the top are. Deduct what that measurement is to get the right height.
Two long boards will form the support along the front and back, and two shorter ones for the ends. I usually use some diagonal supports too, to prevent the driftwood tabletop from twisting. All these will need to be firmly attached with screws.
Lay your planks across the top, and attach them with screws. Install the diagonal pieces to brace the legs against the support.
I cut the edges level with a Skil saw like this one from Amazon. Using power tools takes a bit of practice, but it does get easier. Buy the best you can afford.
Set your table with handmade pottery or old McCoy ceramics, or other vintage china, crystal and silver cutlery. The recycled, the old and the antique in your collection will shine against the backdrop of your rustic driftwood dining table. Bon appétit!
For another rustic farmhouse table, check this out.
Learn what it takes to be creative - we all have the gene but how do we develop it? Get the free guide!
Fill in the form below for your copy;
(Don't be disappointed - use an email address that will accept the free download - some .aol email addresses won't.
If you don't see your download within a few minutes, try again with another email address - sorry for the bother.)
