Get the e-Book
Come into the garden and find some twigs - then, let's build! They can be rugged and rough, or more refined and smooth.
Whatever they look like, there's a craft for that.
- Home
- Rustic Paint Techniques
- Elmers Glue Paint Crackling
Elmers Glue Paint Crackling
Making that Rustic Finish on Everyday Items
Jacki Cammidge, The Woman of Many Sticks, is a participant in the Amazon Services LLC Associates Program, an affiliate advertising program designed to provide a means for sites to earn advertising fees by advertising and linking to amazon.com. The cost to you, if you purchase something through my link, is the same.
There’s no need to buy expensive paint crackling medium, only to have it dry up before you can use it all; just use the cheapest of all glues, used for decades by children in art class, and now as a crackling medium.
Elmer's Glue is a white water soluble glue, which makes it easy to clean up before it dries, but it’s quite durable.
Using it as the middle crackling layer to give you that aged and antique look to rustic crafts, furniture and other household items can save you a bundle of money.
So, to start your project, do what I do; train your friends and family to find and retrieve old painted boxes, little drawers, cupboards and shelves.
You can find another project that started like this here. I went in another direction entirely with that one.
The pieces you find should be wooden for the best results, although I have used odds and ends that are made from particle board, plywood, or even plastic.
Roughing up the surface before you paint is key.
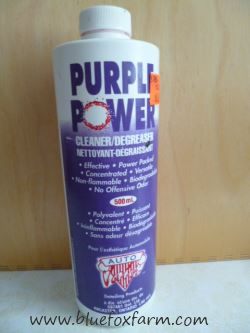
Wash well with a damp cloth and TSP or Trisodium Phospate, or other degreaser.
I like Purple Power, but there are a lot to choose from that do the same job. It’s important to remove grime and grease especially.
After this, you can sand the piece down if you like.
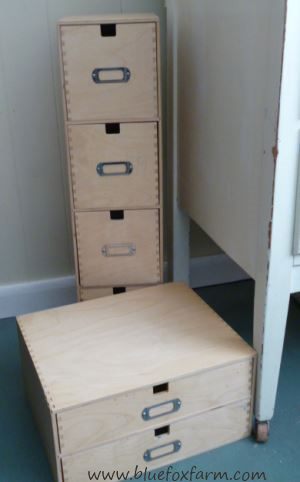
Sometimes damp ragging a wooden piece can raise the grain, and it needs to be sanded with fine garnet sandpaper to take off the rough edges.
A piece that is already painted needs to be sanded to give the next layer of paint something to ‘key’ into or bond to.
I use cheap acrylic craft paint for smaller items, or you can buy a quart (liter) of white paint in the hardware store (wait until it goes on sale).
Make sure you get latex interior paint, which cleans up with water.
Don’t use the oil based paint which are harmful to the environment and the artist, and have to be cleaned up with turpentine or mineral spirits.
Using a 1-2” natural bristle brush, give it the first coat of paint. I like to use a darker color – for this project, I used a mixture of black, burnt umber and holiday red.
This makes a lovely dark raspberry color, great for a background.
Keep in mind that you won't see much of it once it's covered with the crackling coat.
Other favorites are black mixed with blue and yellow, which makes a really dark green.
Learn how to make different colors with what you have; all of the colors of the rainbow can be made from different ratios of red, yellow and blue, and you can make them lighter or darker by adding white or black.
The technical aspects of painting the first coat are not important; just cover the item.
Brush marks, thin spots and other flaws are not an issue (do, however, get rid of drips, because you’ll never be able to cover them).
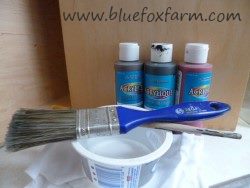 Paint choice is important...
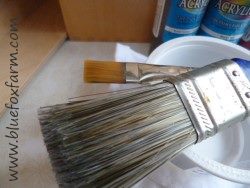 ...brushes almost as much
Allow the item to dry and then using the same size brush (cleaned under warm water with dish detergent or soap right after you finished using it, of course) dab on Elmers white glue, diluted with a small amount of water.
It’s important not to get it too thin, but it needs to spread easily. Allow to dry for up to half an hour to an hour.
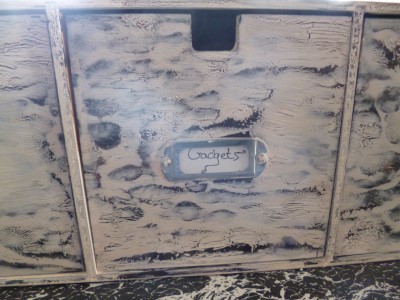
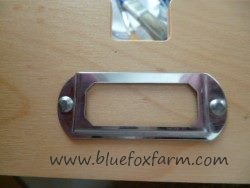 Drawer pulls or other add-ons like this label holder are fiddly to paint around; use a small brush.
The top coat will usually be a paler color; white or off white works great for a rustic shabby chic look.
Mix your paint in a yogurt or cottage cheese container, and try and judge the quantity of white paint that you will need to cover the project.
Add a small amount of a darker color, like the burnt umber, brown or beige to give it more of an antique white tone.
Only mix the amount you will need, as it doesn't keep.
Add a few drops of water to dilute it to spreadable consistency, and paint over top of the now almost dry glue layer.
Make sure that you don’t attempt to touch it up, because that will pull the glue layer up, and make a mess.
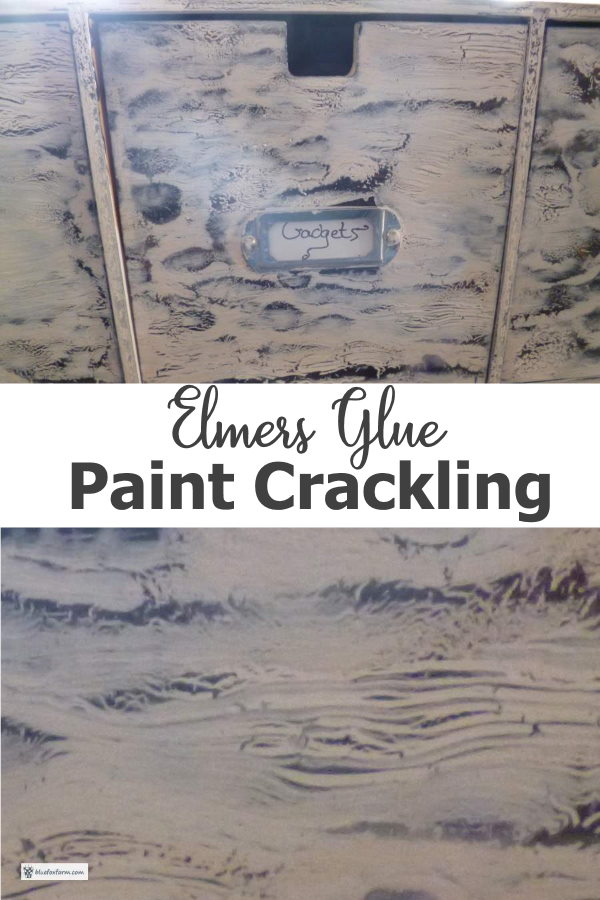
As the two layers continue to dry, the crackling will start to show, and depending on the thickness of the glue and how much moisture was still in it when you do the top layer, it will crackle more or less, showing thicker or thinner cracks.
The undercoat will show through, which is why you want to use the darker color.
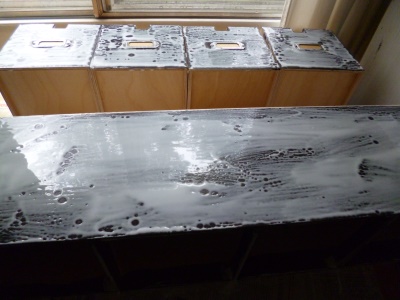 The first coat of paint is a dark color, allowed to dry thoroughly. The next layer is diluted Elmers Glue painted on in broad strokes.
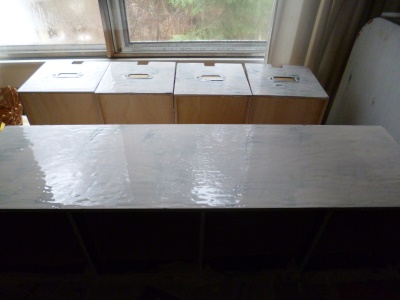 Allow the glue to dry for a few minutes; paint over it with your choice of top coat. I mixed my favorite antique white.
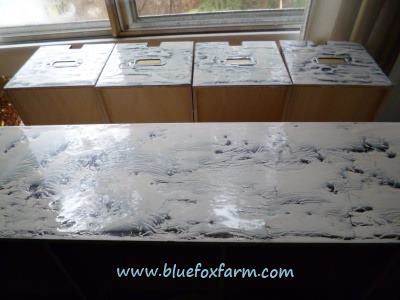 The paint is starting to crackle; full effect shows in about a half an hour, but leave to dry thoroughly.
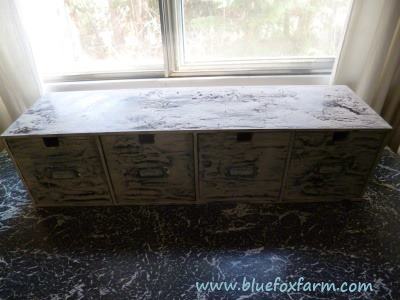 The completed project - very interesting texture with the darker red paint layer showing through.
Allow the paint and glue to dry completely before handling it; don’t attempt to touch it up, as the paint will no longer crackle once the glue is completely dry. If it didn’t work, sand it off, and try again.
I recommend using a trial piece or two, of similar textured wood to test the consistency of the glue and the paint before getting too anxious to try it on a bigger piece.
To give the piece a final protective layer, I like the sprayable Varathane product, Diamond Coat, which can be either gloss, satin or matte finish. My preference is the satin, to give it a bit of a glow without making it too shiny and fake looking.
Later; I started using the paint on Varathane - see the link below to purchase it.
Several light coats are better than one heavy one; I’ve used this on some of my painted doors which are out in all weather – they have lasted for 6-7 years with no sign of needing repair after using the Diamond Coat.
Supplies You'll Need For This Project;
I used these supplies for the glue crackling technique shown here - all links open in a new tab or window;
Purple Power (4320P) Industrial Strength Cleaner and Degreaser - 1 Gallon
Rust-Oleum Varathane Interior Crystal Clear Water-Based Poleurethane, Satin Finish.
Loew Cornell 1170 Brush Set, White Nylon, 3-Pack
Elmer's School Glue, Washable, 4 Ounces
Premium
Painting Brush Set-12 Piece Golden Synthetic Hair, Short Wooden Handle
Artist Paint Brushes for Acrylic, Oil, Watercolor Painting.
Apple Barrel Acrylic Paint Set, 18 Piece (2-Ounce), PROMOABI Best Selling Colors 18 Count.
If you're curious how broken pots, twigs and wire combine into magic, let's explore creativity in action.
Fill in the form below for your copy;
(Don't be disappointed - use an email address that will accept the free download - some .aol email addresses won't.
If you don't see your download within a few minutes, try again with another email address - sorry for the bother.)
