Faux Wood Hypertufa Pot
DIY Hypertufa Molds
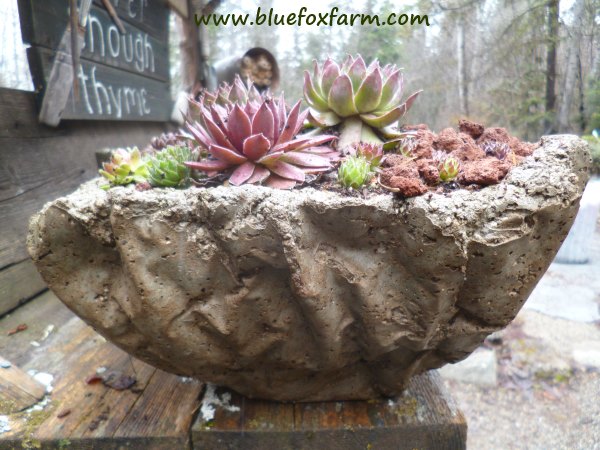
What can you think of that would give the rugged appeal of tree bark, for a hypertufa planter?
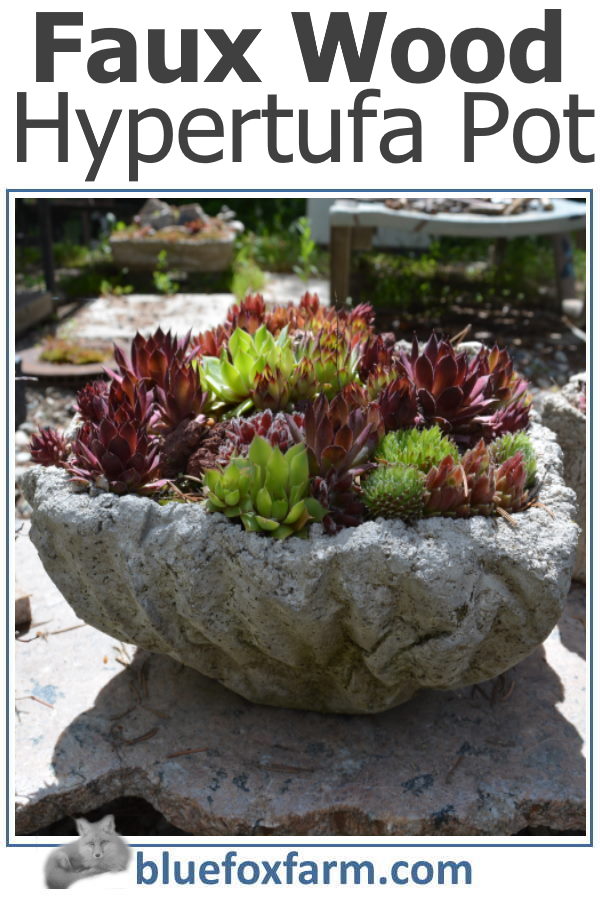
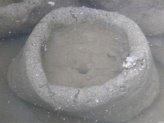
This faux wood hypertufa pot is not as difficult as it sounds; simple and easy to locate supplies make the textures on the sides of the mold to give this creation the look of a tree stump or piece of driftwood.
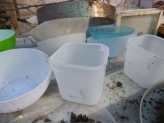
Hypertufa molds are easy to find if you keep your eyes open; this one is a square plastic bowl from the recycle center where all the unsold garage sale goodies get dropped off.
Then the DIY part comes in; putting the texture into play.
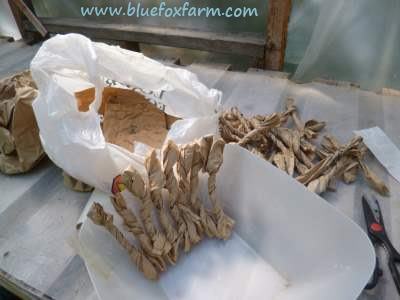
Salvaged paper bags from my plant business are the perfect size for the texture.
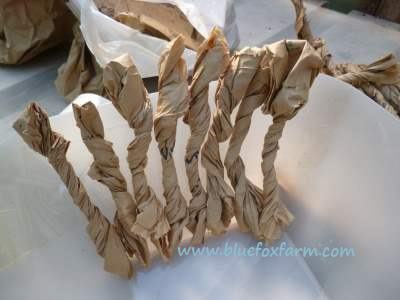
Twisting them up just takes a moment - it was more difficult getting the two sided tape to co-operate; click on a picture to see more details:
Simple supplies such as an odd plastic salad bowl, small paper bags (or even newspaper) screwed up into twists...
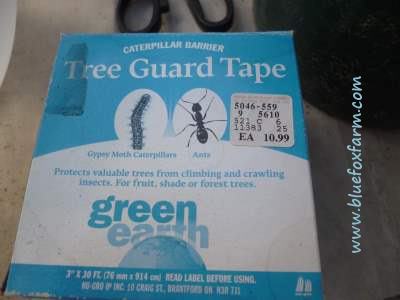
Any kind of two sided tape will do the trick; a layer of poly film protects the paper bags, and also makes it easy to remove the pot when it's finished drying...patience!

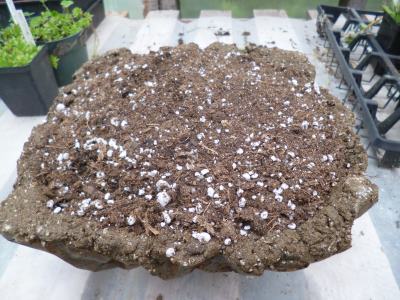
Once the pot is dry, which could take several weeks, then it can be turned out of the mold - if I can bear to wait that long. I've sprayed the pot with plain water every day for a few days, and it was covered with more poly film.
This ensures that the curing process can continue.
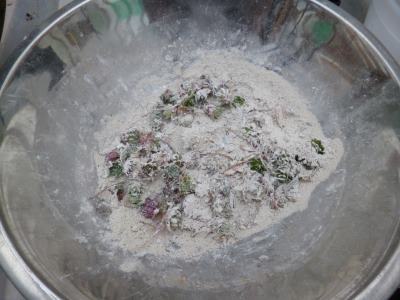
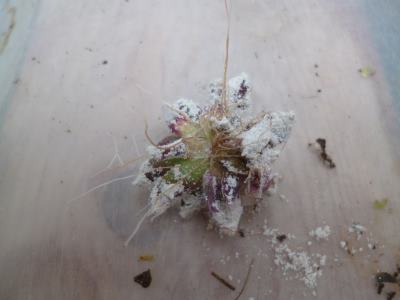
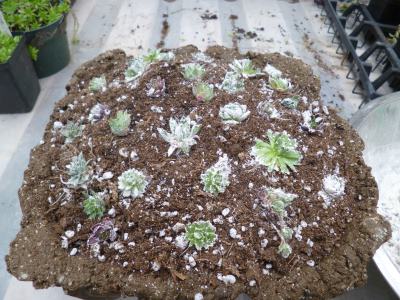
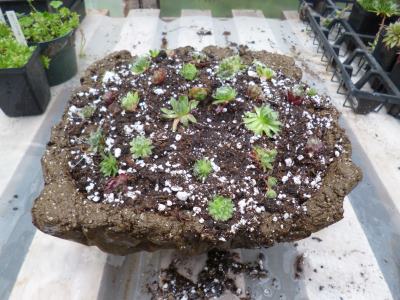
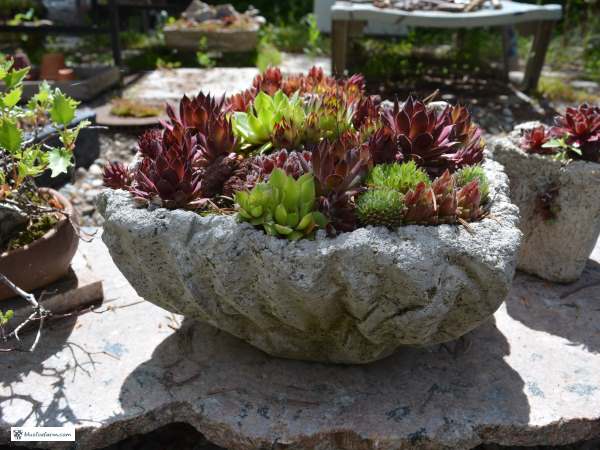
Now I can plant it; the Sempervivum chicks are dredged in diatomaceous earth to stop any bugs dead in their tracks.
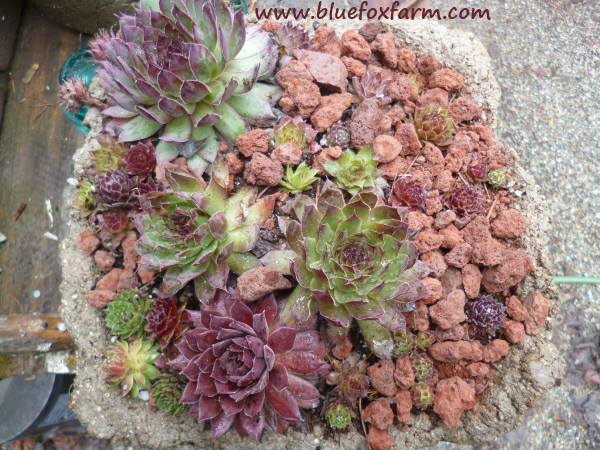
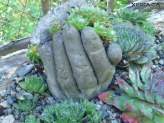
Succulents thrive in hypertufa, and look spectacular in these rustic pots
Once the plants are filled out and established, this great planter will be added to the display of hardy succulents that I have in various containers; wreaths, salvaged junk and many more unique hypertufa creations house many of them in my garden - what are you waiting for?
Learn what it takes to be creative - we all have the gene but how do we develop it? Get the free guide!
Fill in the form below for your copy;
(Don't be disappointed - use an email address that will accept the free download - some .aol email addresses won't.
If you don't see your download within a few minutes, try again with another email address - sorry for the bother.)
