How to Make a Primitive Angel
Out of Scraps and Thrift Store Finds
If you're like me, you've got a collection of spools and turned legs salvaged from old chairs, or some banisters. I always keep a supply of odd bits of architectural salvage, just for these exact situations.
As well, you could have bits of fancy trim from a mirror, some scraps of interesting fabric or leather, or even a chair back.
It's time to utilize all your bits of treasure and make them into something elegant, primitive and fun; a rustic and primitive angel.

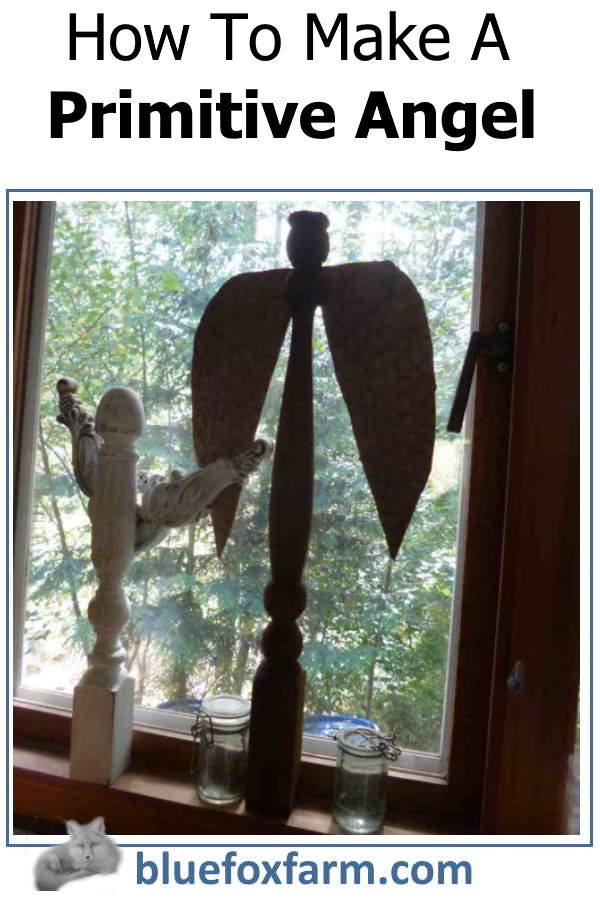
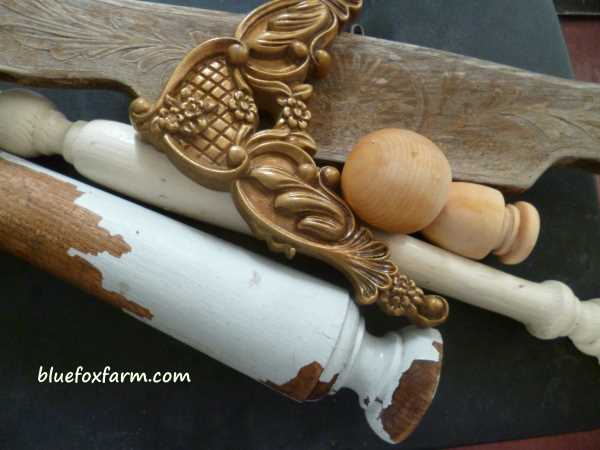
First of all, collect all your bits together to see which can be combined to form a body, wings and a head. These are actually foam trim from a mirror, a pressed back from a chair, and a curtain rod end, as well as a couple of turned pieces from who knows what.
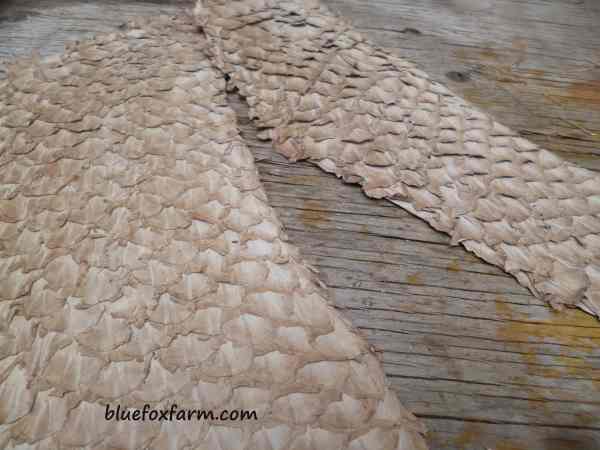
Scraps of leather or even carp skin like the bits below have been waiting for a project - don't they resemble feathers? Perfect for angel wings.
The fancy pieces off a mirror frame have been reclaimed for multiple projects; the most complicated use was in the shelf unit that I made out of several pieces combined.
I have a few turned pieces that are meant to be curtain rod finials, and have a hole drilled into the center. This is capable of being screwed onto a pole, similar to a broom handle.
Bannisters or spindles are turned rods that are meant to support the railing on stairs. Spools are shorter, and meant for other things, like as decorative 'gingerbread' on Victorian porch renovations.
There are many different designs, and with changing styles, you can pick these up cheap (or free) when someone does a renovation and dumps them off for a garage sale.
Grab them!
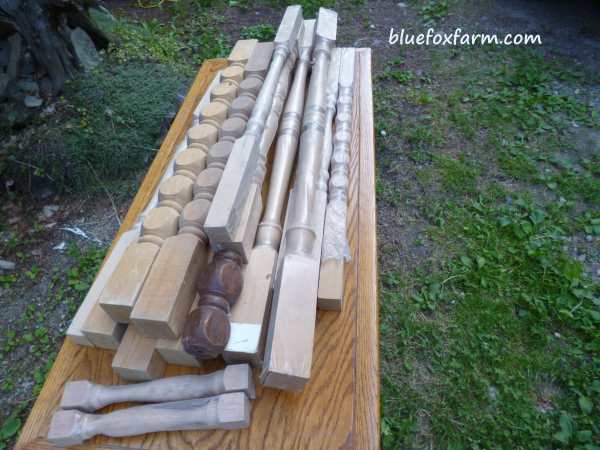
Sometimes you'll only need part of a turned leg - the project that only required the top of the legs was the upcycled armoire. The rustic angel project uses the rest of them.
I made several out of a set of smaller spindles, cut in various ways, then drilled a hole in the center, and inserted a hand carved dowel to fit.
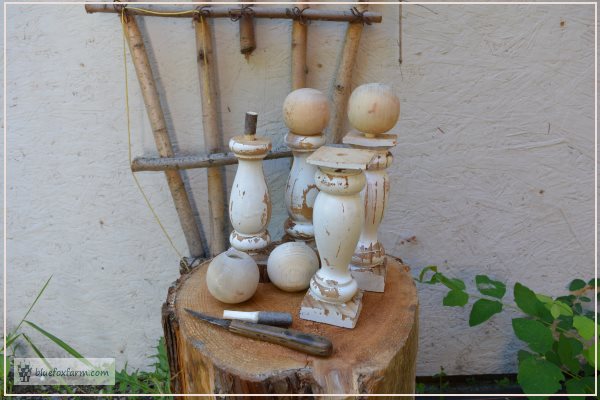
The head which is actually a finial for a curtain rod is turned to receive the rod, was glued on with Gorilla Glue.

You can see where this is going, right? The wings are the next part of the project, stay tuned.
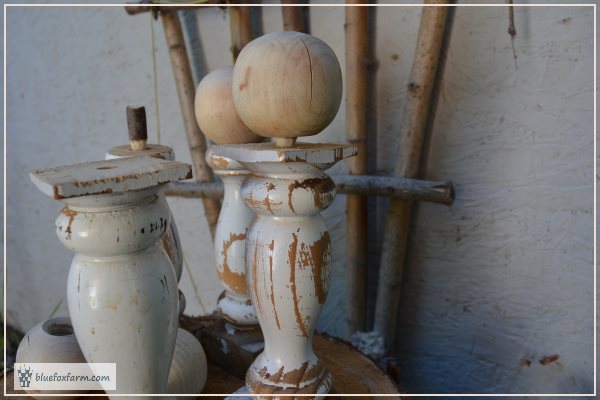
A few screws, nails or staples, a bit of glue, some chalk paint or other finish (like the simple one here), and voila; primitive and beautiful angels.
Learn what it takes to be creative - we all have the gene but how do we develop it? Get the free guide!
Fill in the form below for your copy;
(Don't be disappointed - use an email address that will accept the free download - some .aol email addresses won't.
If you don't see your download within a few minutes, try again with another email address - sorry for the bother.)
