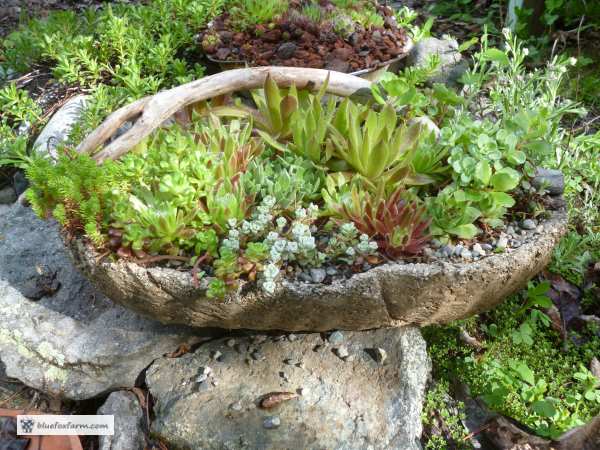
Hypertufa Molds
Use found & salvaged items to create rustic garden art
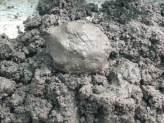
Molds for making hypertufa can be as simple as a sheet of drycleaners film laid over a pile of sand with a depression in it.
You can use almost anything for your diy concrete planters - your imagination is the limit.
Here are some ideas for hypertufa planters;
More complicated hypertufa molds for your rustic garden art are built from lumber, or two boxes which fit inside one another.
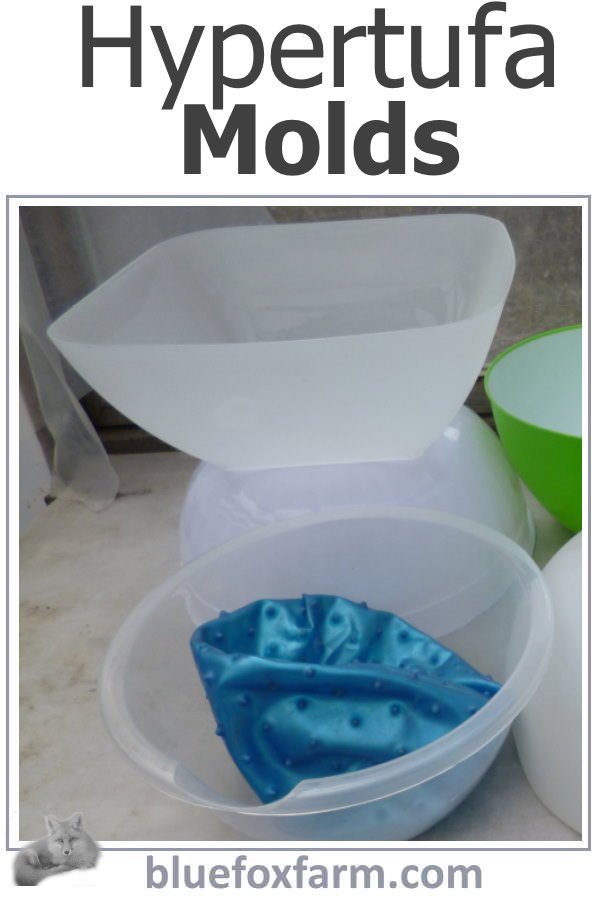
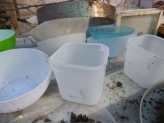
Plastic planters or buckets can be used. I look in the thrift store or recycle center for plastic bowls; these come in all shapes and sizes, and are easy to use; line with plastic so you can get the pot out once it's done.
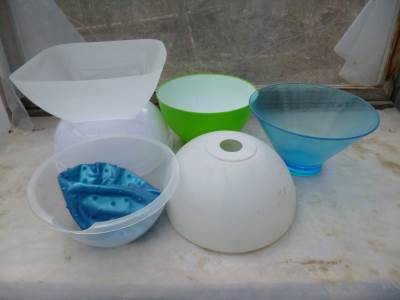 Use old plastic bowls from the thrift store...
In a similar vein, look for plastic lampshades, or any other container that could be used to make hypertufa molds.
Use what you have, and be creative. Texture can be added by putting sticks, pebbles, straw matting, bubble wrap or crumpled cloth in between the mold and the plastic film.
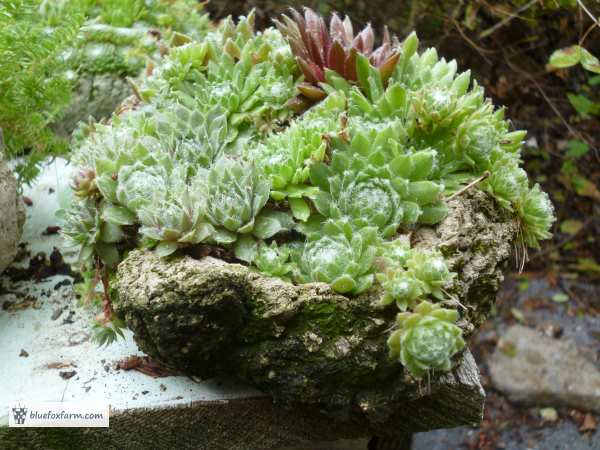 Rugged, textured hypertufa pot made by lining a bag with bubble wrap
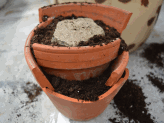
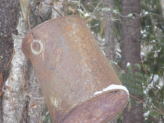
If you can, find and salvage old pots, buckets and old enamel dish pans, hanging planters, even used Ziploc bags to make pinch pots; you don’t need to complicate it.
Those cheap examination gloves that you buy by the hundreds in the pharmacy make incredibly realistic 'hands'.
Bird cages have plastic trays to make cleaning them easier - these make great molds for troughs or other low planters. More on making troughs from bird cage bases here.
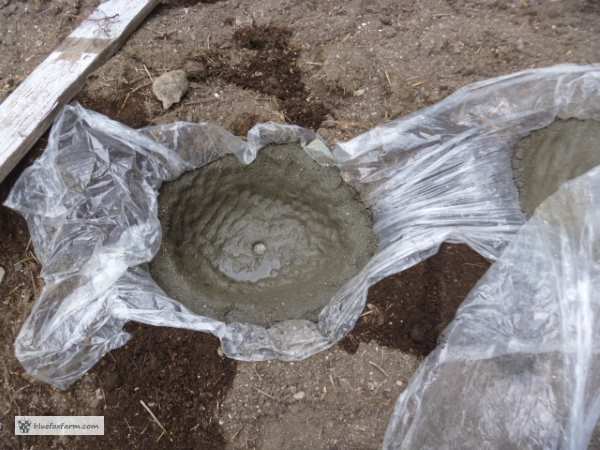 Drycleaning poly film over earth molds
Warning: do not use anything valuable, or that you are attached to;
there have been cases of novice hypertufarists using their valuable
expensive Italian cookware as molds, only to find that you can never get
the pot out.
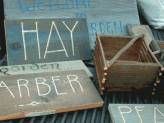
Look in the thrift store for an old basket or two; even damaged ones will work fine for this.
I try and find the largest ones I can, because of how much room the thick walls of the mix will take up.
For the pot to be strong enough to stand up on its own, the walls have to be at least 3-4cm (1-2") thick, sometimes more.
Thicker is better, especially for larger sized projects; you can get away with thinner walls on small projects like hypertufa pinch pots.
The simpler ways of making hypertufa are always the best, so think outside the box when looking for molds to use.
Keep in mind that sometimes the mold has to be sacrificed and cut off, if the top of it is smaller than the bottom.
I use baskets this way, and end up with completely unique hypertufa planters – there will never be another one like it as you have to sacrifice the basket to get your creation out.
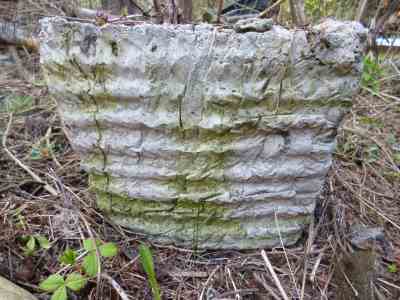 Rustic Hypertufa Basket - starting to show its age...You can only use a basket as a mold one time
Preparing your Hypertufa Mold:
Make sure you spray Pam or other cooking spray all over the inside of your mold, or alternatively, use a layer of very thin plastic film such as dry cleaning bags.
Once your hypertufa mix has been allowed to dry for overnight or even a day or two, carefully turn the mold over and hopefully your creation will slide out.
If you're using an earth or sand mold, leave the piece undisturbed as long as possible before extracting it.
Don’t jar it, as this can crack the still delicate hypertufa. It won’t reach its full strength for a few weeks or longer after it’s cured.
If you’ve used an old basket, be prepared to cut it off with a sharp razor knife, or you can even burn it off with a propane plumber’s torch.
Will this crack it? Maybe not! See more about how I discovered that Hypertufa is fireproof.
For more commercial type molds, visit Latex Craft Moulds and find out which is my favorite hypertufa mold of all time.
A good selection of things to use for molds is an important part of any respectable hypertufa studio. Keep your eyes peeled for anything you can use for making your own whimsical and unique planters.
Frequently Asked Questions;
Do I need to use a release agent?
Do I need to use a release agent?
Not all molds require a release agent such as Pam spray or silicone. If the mold is sacrificial like a basket, or open like a shallow bowl, you won't need anything.
If I use a floppy mold, will that affect how my project turns out?
If I use a floppy mold, will that affect how my project turns out?
Using something with no support might be harder to fill up if your hypertufa mix is on the loose side. Support the mold by immersing in sand or soil to hold up the sides if they want to collapse.
Do I need a mold at all?
Do I need a mold at all?
Yes, you will need something to hold the mix in place until it dries. Hypertufa mix is very loose at first.
Learn what it takes to be creative - we all have the gene but how do we develop it? Get the free guide!
Fill in the form below for your copy;
(Don't be disappointed - use an email address that will accept the free download - some .aol email addresses won't.
If you don't see your download within a few minutes, try again with another email address - sorry for the bother.)
