Hypertufa Orb
Or; a clutch of dinosaur eggs
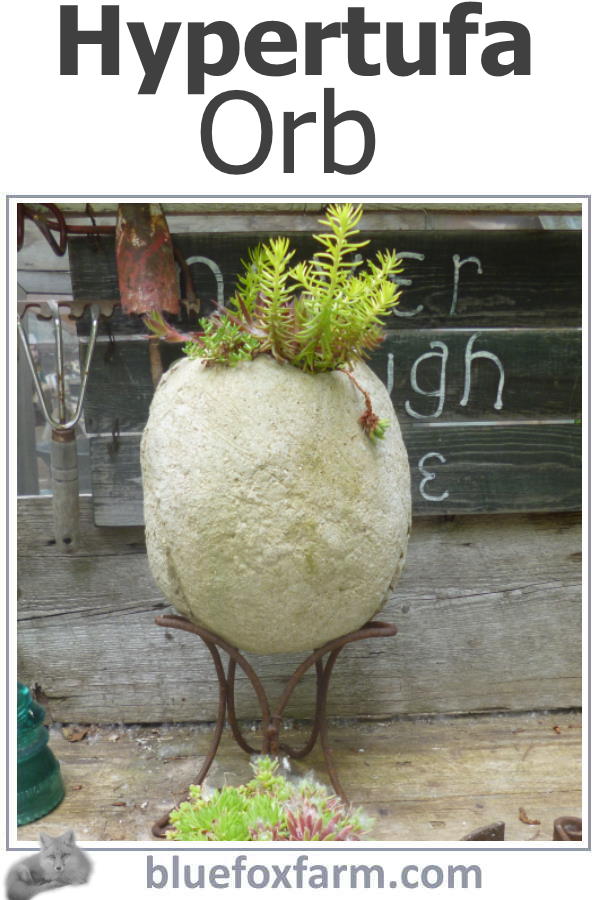
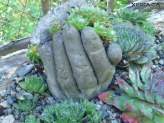
Hypertufa orbs or globes are a unique way to display your succulent plants – imagine tiny Sedum and Sempervivum trailing out of the hole in the side, or a group of them gathered on a rock wall, resembling the cracked open eggs of a giant bird.
Practical, maybe; whimsical, definitely.
How on earth do you make them? I use old beach balls, or basketballs that are past their best. Sometimes you see these at garage sales, and if you’re not thinking outside the box, you’ll pass them by.
I pick them up for a couple of dollars, and as long as they hold air, they can be used for hypertufa orbs. A selection of different sizes can last a long time, as you can reuse them over and over.
Sometimes it's easiest to make two halves in a bowl, and join them together with a thin concrete mixture, like mortar.
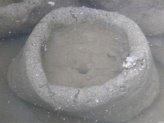
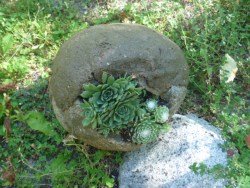 The front view of the Hypertufa Orb...
|
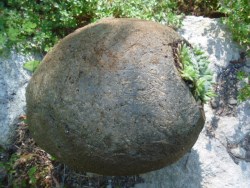 ...and from the side
|
You will layer the hypertufa on the outside of the ball.
Determine how big your deflated beach ball will be, by taking all the air out of it, then squeezing the middle. This is how big the hole in your hypertufa needs to be, so you can deflate the ball once the hypertufa sets, and get the ball out.
Using one of the recipes for hypertufa on the page about how to make hypertufa, make a batch of hypertufa mix.
In some cases, you can cut thin strips of hardware cloth or old window screen to wrap around the ball to make it stronger. This is necessary on larger sized balls such as basketball size and up to make the finished sphere strong enough to hold up under its own weight.
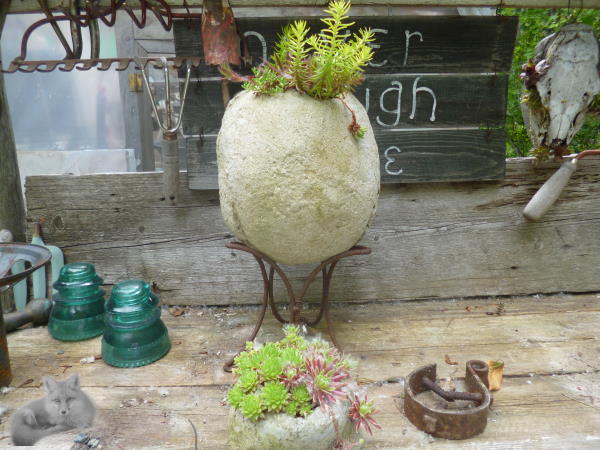 Hypertufa Orb, planted with Sedum 'Angelina' and other hardy succulents
Sedum 'Angelina' and others will drape over the sides, giving your orb a uniquely interesting look.
Use a layer of very thin 2mil poly, dry cleaning plastic or spray the ball with Pam to make it easier to detach the ball from the inside of the partially dried hypertufa.
If you don’t use some kind of material to prevent it sticking, you’ll end up having to cut the ball out of the hypertufa. Make it easier on yourself, and keep the ball intact for another use by using the anti sticking agent or plastic film.
Pat on a layer of hypertufa mix, making sure you leave a hole the size that you’ve decided based on the deflating procedure. Keep going until you have the ball covered, then put it into a plastic bag to cure.
Leave it in the bag for at least a couple of days as if you disturb it at this stage it will be brittle or crumbly.
After a week, you can safely detach the ball by deflating it, and carefully remove it from the center of the hypertufa. Immerse the hypertufa orb in water, or spray it with water to keep it moist, and put it back into a bag.
The curing part of making hypertufa is crucial, so don’t get too impatient.
Once the orb is dry, and cured, you can plant it with your favorite hardy succulents, Sedum or Sempervivum and display it in your garden, or simply leave it empty.
Learn what it takes to be creative - we all have the gene but how do we develop it? Get the free guide!
Fill in the form below for your copy;
(Don't be disappointed - use an email address that will accept the free download - some .aol email addresses won't.
If you don't see your download within a few minutes, try again with another email address - sorry for the bother.)
