Hypertufa Plant Pot Faces
More Funny Garden Stuff
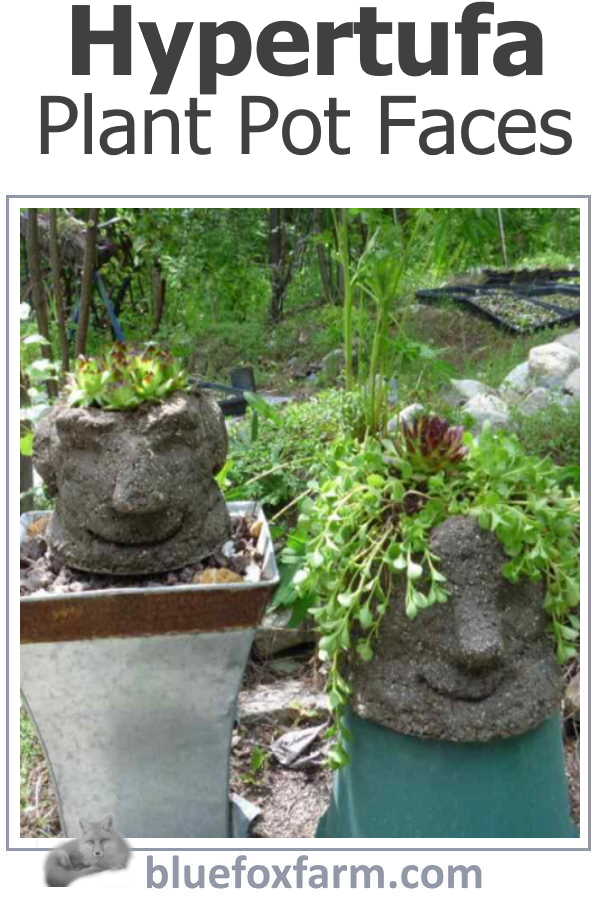
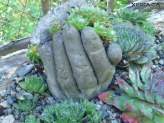
After fiddling with trying to sculpt hypertufa into face planters, I came up with this idea – why not use those ubiquitous black plastic nursery pots as a mold and make some hypertufa plant pot faces?
This way, you can use up the ugly black pots instead of sending them to the landfill, and make something equally ugly, but with a certain charm.
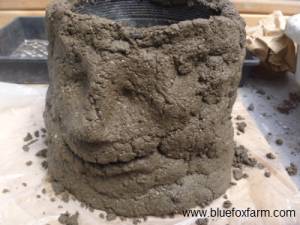
Just the impression of a face is enough; a rudimentary nose, a slit for a mouth and some craggy eyebrows, then plant Sempervivum or Sedum in them for hair.
Here's how to make Hypertufa Plant Pot Faces:
I use a slightly different recipe for these, as you need to sculpt them, plus the mix has to stick to itself and the pot.
This is the mix I find works well for making hypertufa plant pot faces, or other types of sculpture:
1 part each of:
Screened silty soil (my native soil is very sandy and silty, so you’ll have to experiment with this) OR builders sand.
Peat moss
Perlite
Portland Cement Powder.
Mix all the dry ingredients together well, than start adding water.
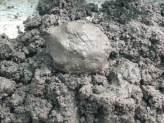
The mix should be moldable and plastic, not crumbly. Be careful, as it can quickly become sodden, which will only slump off the plastic pot that you use as a mold.
Leave the mixture for a few minutes – this will help in determining if it can be used to sculpt with.
If it’s too runny (moisture runs out of a handful squeezed in your fist), add more peat moss. If it’s crumbly and won’t stay in a clump, add more water.
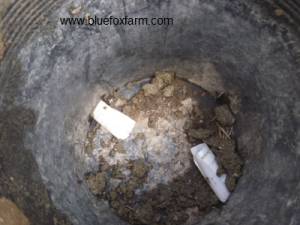
Important tip:Roll up some newspaper in a small roll and insert at least two of these into the existing drain holes of the pot otherwise you’ll have to drill some drain holes in the bottom of the plastic pot later.
Place your plastic pot on a piece of plywood covered with a piece of thin 2mil poly film.
Start with two small handfuls of mix, and place on either side of the bottom of the pot.
Working your way around, add more handfuls, patting them together where they join, and gradually build up all sides.
When you get to the top, make rolls of
hypertufa mix and cover the edge of the pot, and meld this into the side
walls.
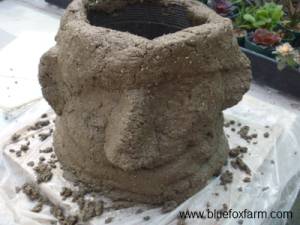
Once all the pot is covered, you can add the face.
See if there’s already a hint of a face, and use that to make indented eye sockets, add a roll of mix for the nose, and either two smaller rolls for lips, or simply carve the mouth out with a small stick.
Two small rolls for ears, and similar sized rolls of the mix for eyebrows will make the character of your hypertufa plant pot
Curing hypertufa is an important step, so don’t omit it.
The pot stays inside the hypertufa, as a solid base to support the mix.
Make sure that it's okay to leave it inside, as you won't be able to remove it.
Plant the hypertufa plant pot face with your choice of Sedum or Sempervivum.
Learn what it takes to be creative - we all have the gene but how do we develop it? Get the free guide!
Fill in the form below for your copy;
(Don't be disappointed - use an email address that will accept the free download - some .aol email addresses won't.
If you don't see your download within a few minutes, try again with another email address - sorry for the bother.)
