Mixed Media Mosaic
Finally, a Dream Project Comes True
Jacki Cammidge is a participant in the Amazon Services LLC
Associates Program, an affiliate advertising program designed to
provide a means for sites to earn advertising fees by advertising and
linking to amazon.com. Other links on this site may lead to other affiliates that I'm involved with, at no extra cost to you.
It's been a long held dream of mine - a mosaic top on something, made with all kinds of gems, little tiles, terrassae, gew gaws and jewels.
All I was waiting for was the right piece to build it on and I finally was gifted the perfect thing; a wash stand that, although vintage, was too dinged up and wrecked to refurbish back to new stock.
The piece was a vintage wooden washstand, from early in the 1900's - it's not so precious that this kind of project won't improve it.
The top was covered with a suspicious piece of old paneling, which, no surprise, covered up a plethora of flaws.
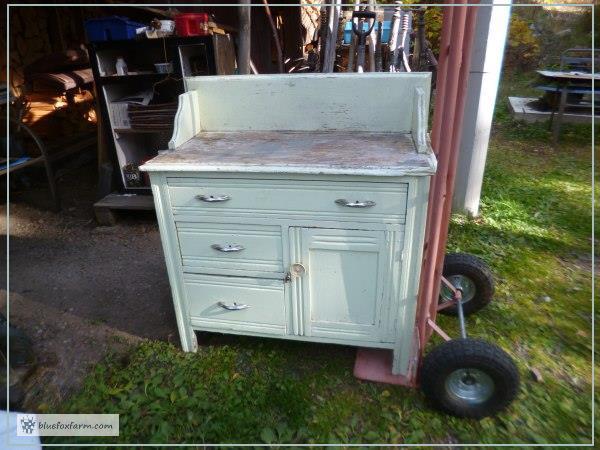
Filthy, neglected, someone had changed the original handles and knobs into atrociously ugly 1940's style chrome ones.
The door had at one time been 'fixed' with steel bars, and there was a hole in the bottom to let the mice in.
I evicted the spiders, and washed the whole thing with Murphys Oil Soap, my go-to for all things wood. It melts the grease of ages, takes off dust, and lets the patina shine through, all without affecting it one bit. Just be careful to use disposable gloves when applying it, it can cause contact dermatitis in sensitive individuals.
Two pieces of paneling were cut to fill the holes in the bottom - after all, if this is going to go on my new (yet to be built) porch, I don't want mouse homes.
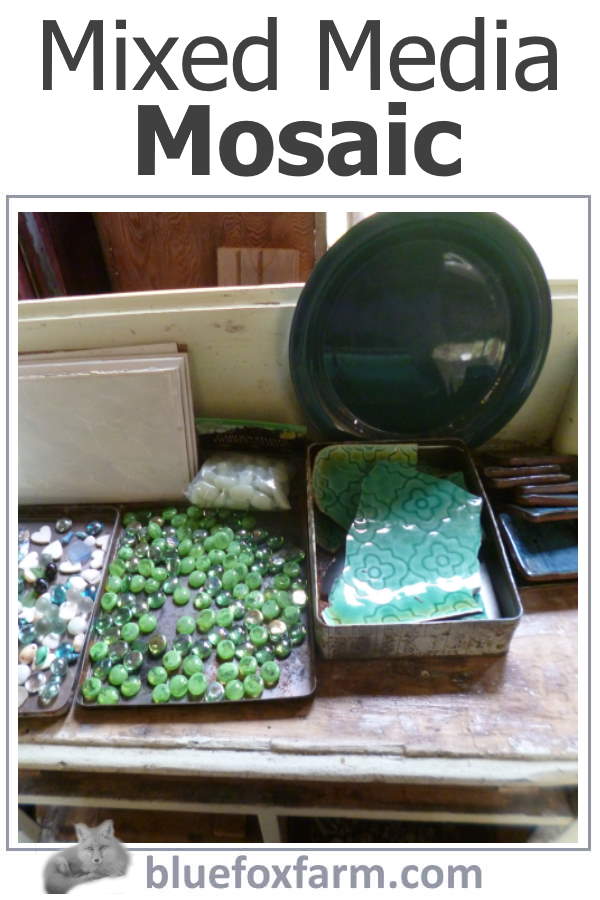
Then the fun begins. A long time ago, in another life, I made some little four inch or so tiles out of clay. They were glazed in blue.
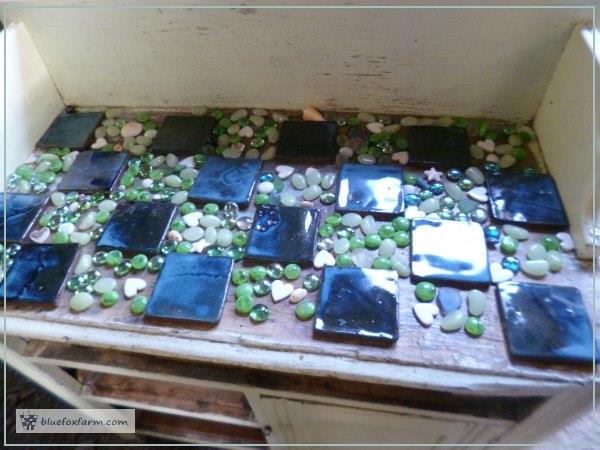
I have also been given at different times a broken platter, some shiny gems, shells and tiny heart shaped tiles.
Some of them ended up on the Encrusted Cannonball, but the ones that are left have been gathering dust, waiting for the dream project.
I got a little tile cutter, which looks just like a pair of pliers with a wheel on, and another little piece. It's an odd looking thing. First, you score a line with the wheel on the tile, then snap it with the other part. You'll see.
This is the one I got (or similar) - it's a SPEEDWOX Mosaic Nippers 8" Tile Nippers which you use the wheel to score, and then break it along the line. The one I got says that it won't cut over 1/8th inch thick tiles, which could be an issue, as the plates I plan to use have thicker parts on them.
I saw the same type as this Leponitt Mosaic Tile Cutter which has two wheels - one day, I'll have both!
I thought about how to use all the pieces, especially the blue hand made tiles, because there weren't many of them. I decided to make it in a checkerboard pattern with the alternating holes filled with the gems and other artefacts.
Now to glue all the pieces in place. I decided to use B-7000 for this step. There are many others you could choose, but that one seemed efficient and I had some on hand.
First I gave the whole thing a layer to seal it, then I glued each item in place.
Once all the pieces are glued in place, then the part I've been dreading. This is where I think it could all go sideways; the grouting.
I couldn't find the exact type of grout that I got on Amazon, but here's a close approximation; Sanded Tile Grout. I would most likely get some kind of color like grey or pewter, rather than white, but whatever you prefer, you can get it mail order - there are almost too many choices!
Following directions has never been easy for me, but here's a place I tried.
Mix the grout following the directions on the package - almost.
With a vinyl examination glove to protect my hands, applying it to the surface, getting it into all the nooks and crannies - check.
Wiping off the excess with a sponge - check.
Buffing off the haze - check.
Admiring the result - CHECK!
Sadly, after a couple of days of admiring, I realized that the grout had cracked - look at the picture below;
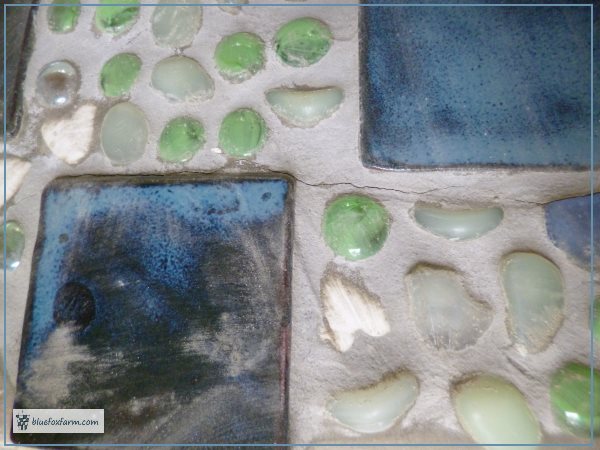
I didn't follow the directions exactly. My bad. I think the grout was too runny, and I also just mixed it with my hand (in a glove, of course).
Apart from that minor flaw, the rest of it looks fine - for a first attempt. My next project will work better, and I'll make sure the weather is a bit better (warmer) and I follow the directions on the package.
Much later, I sold this piece online on Facebook marketplace, to someone who was thrilled with it. So maybe my taste isn't so unique after all!
Learn what it takes to be creative - we all have the gene but how do we develop it? Get the free guide!
Fill in the form below for your copy;
(Don't be disappointed - use an email address that will accept the free download - some .aol email addresses won't.
If you don't see your download within a few minutes, try again with another email address - sorry for the bother.)
