Painting the Camouflage Table
Rustic Paint Techniques to jazz up your old rustic salvage
Jacki Cammidge, The Woman of Many Sticks, is a participant in the Amazon Services LLC Associates Program, an affiliate advertising program designed to provide a means for sites to earn advertising fees by advertising and linking to amazon.com. The cost to you, if you purchase something through my link, is the same.
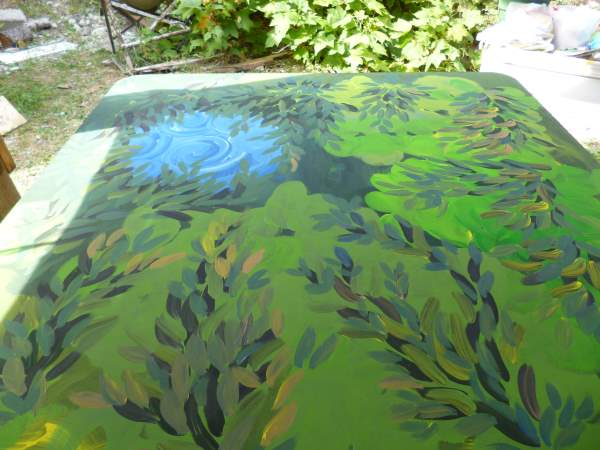
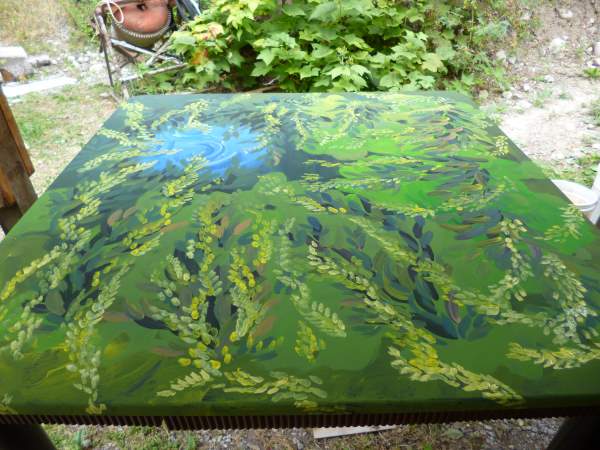
Camouflage painting is my latest fun way to play with color. It's not really camouflage but that's where I got the idea. The best way to describe it is that it's how to make your furniture blend in to your style
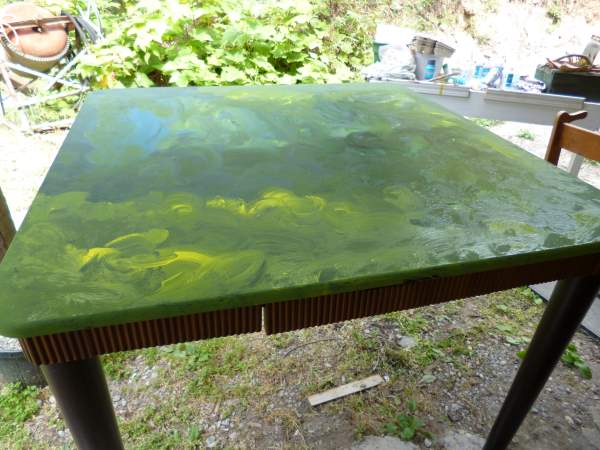
Here's what I used for painting the camouflage table: one hand me down table, square top and sleek legs in kind of a jungle style.
The top was glossy black (again, not my look) so I sanded it to give it some tooth for the paint, which is just acrylic craft paint from the dollar store; I usually get blue, yellow, red and black and white, with which I can make any color of the rainbow, but in this case I had other pre-mixed colors too - mostly greens and several yellows and blues.
Mixing these with a bit of metallic gold, burnt umber and other browns gives me a rich palette of van Gogh like colors.
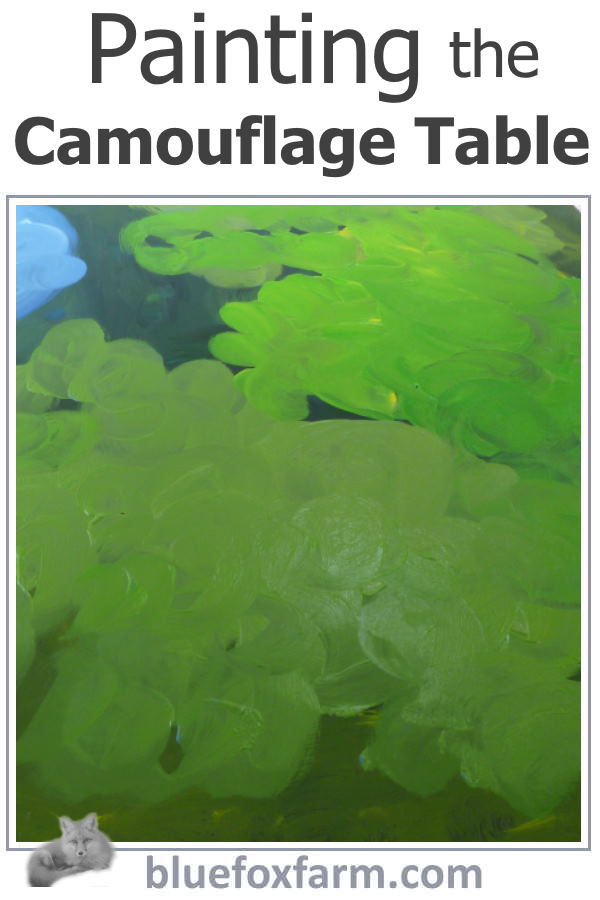
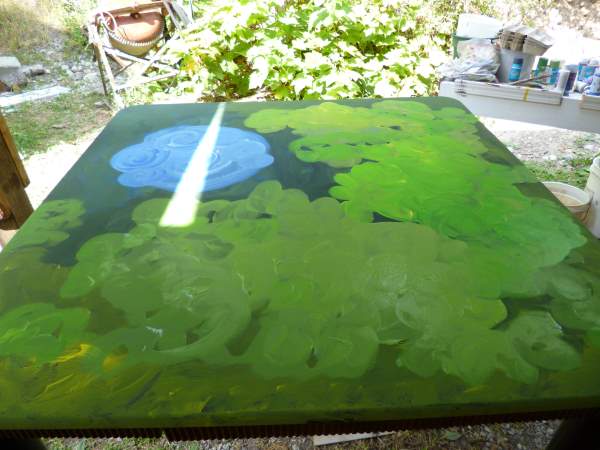
The first coat was applied with the largest brush, in swirls to give lots of texture to the background.
I fortunately have a local dollar store that has a good selection of acrylic craft paint in many colors, but sometimes I have to buy them online, like this selection; Apple Barrel Acrylic Paint Set, 18 Piece (2-Ounce), PROMOABI Best Selling Colors I
Then when it's all done, protect it with some of my favorite satin finish varathane. Rust-Oleum Varathane Interior Crystal Clear Water-Based Poleurethane, Satin Finish
Click on any picture to open the gallery;
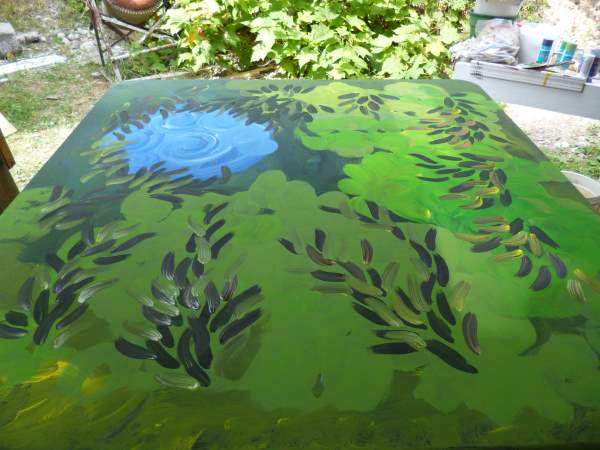
Those first four coats were only the background for the fifth coat, using an even smaller brush for the more intense texture.
Each layer is important to add depth to the finished creation. I will most likely add a protective clear coat to the table when it dries. Every coat needs to dry before moving on to the next. This keeps everything crisp and the edges clear.
I prefer to use a matte or satin finish so that the glare doesn't prevent you from viewing the design.
It's important to know when to stop - too much just makes it look busy and messy. It's best to leave some areas with a more basic texture, and pay attention to the swirling of the brush strokes (or dabs, in this case).
So, go ahead; keep your eyes open at the thrift store or garage sales for something to serve as your next canvas.
Learn what it takes to be creative - we all have the gene but how do we develop it? Get the free guide!
Fill in the form below for your copy;
(Don't be disappointed - use an email address that will accept the free download - some .aol email addresses won't.
If you don't see your download within a few minutes, try again with another email address - sorry for the bother.)
