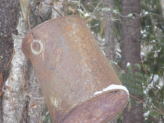
Punched Tin Lamp Shades
Simplicity, made gorgeous
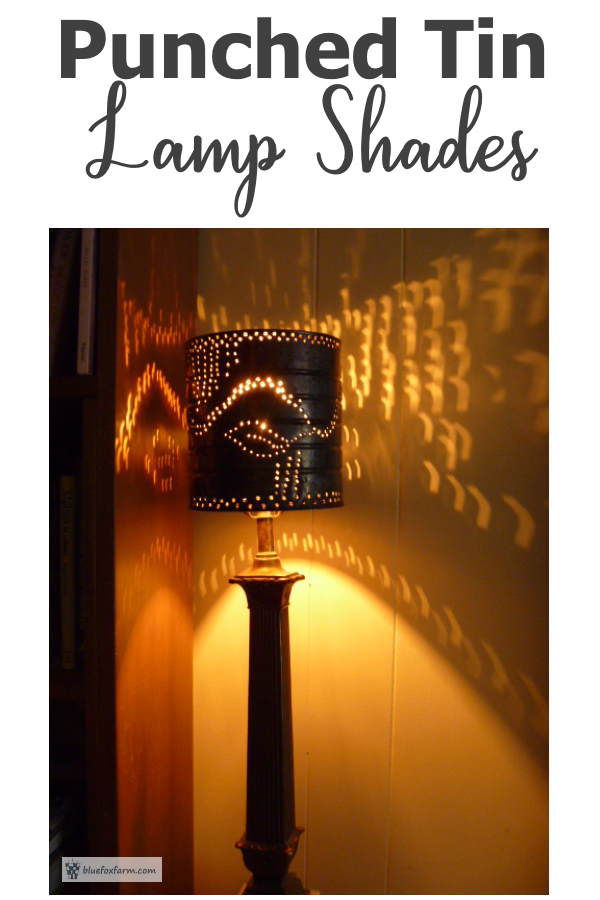
Here’s a cool tin can crafts idea; make punched tin lamp shades using recycled coffee cans or any other similar large sized tin.
Tin punching is an old time rustic craft that can be used with great effect to make trash into treasure.
Many lamp fixtures come with a really ugly, cheaply made or outdated lampshade, so making a replacement tin lamp shade can be a really effective way to make your light fixture unique and rustic.
There are generally two different ways that a shade will attach to the fixture – using a ‘harp’ or curving metal piece that the shade slips over and is secured to with a fancy knob, or a simple wire arrangement that is secured to the shade, and clamps onto the light bulb itself.
With the new types of light bulbs – curly compact fluorescents and LED lights, this type of shade holder won’t work, only with the old time incandescent bulbs.
These will soon be obsolete, so if you want to use this type of lampshade holder, you’ll need to stock up on those before the manufacturers quit making them.
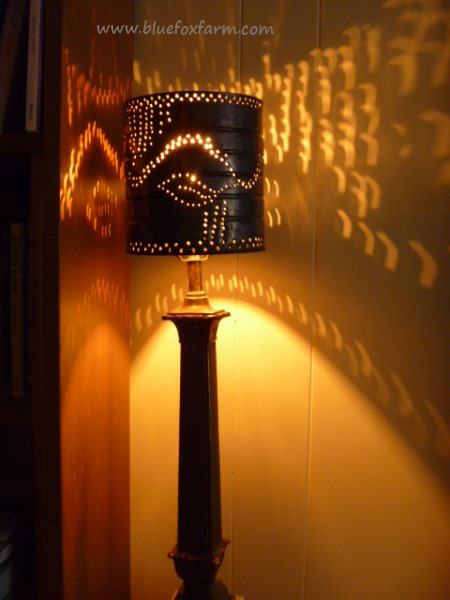 The effect of punched tin lamp shades when lit from within is magical. The way the light sprinkles out onto any surface will charm and delight you.
So, you’ve used up all the coffee in a large sized can, now what?
First of all, if your coffee can is the type that has a paper label, you’re in luck.
These are the best kind to use for crafts. The ones with a painted on label will work too, but they take a bit more work to make them look rustic.
Here’s what I do: Fill the coffee can with water, and place it in the freezer.
Once the water has frozen, this makes a good solid base to use when doing the actual punching.
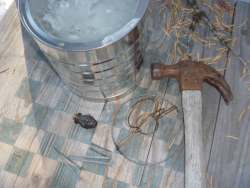 Gather your supplies...
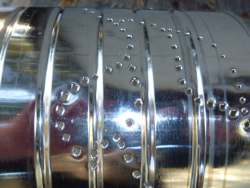 ...and choose your design.
You’ll have to decide if your design will be free hand, or whether you’ll follow a mandala design of some kind.
Many of the old time designs follow an outline of a simple flower or bird, with twining vines, which looks great with the light shining through the holes.
Using several different sizes of sharp nails makes your tin craft more detailed.
I
like to use a larger size for corners, or where lines intersect, then
fill in with a smaller nail, leaving the tiniest size for texture for
inside a leaf, or as a background.
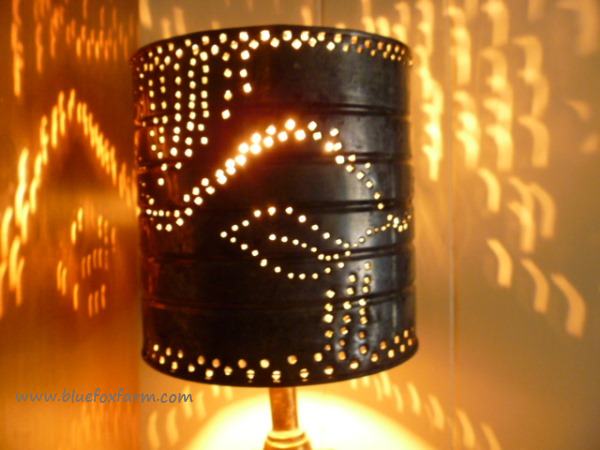
Once your design is completed by working your way around the tin can making sure you meet up in the right place, you can attach the wire contraption with a soldering iron, or drill a larger hole in the very center of the can to hold the harp and decorative finial in place, depending on which style you’re using.
At this stage, I let the ice in the tin can melt, and then take a small metal tube of some kind to hammer against and bend down the inside sharp points left from doing the tin punching - this step might not be necessary - you can omit it if there are no sharp edges.
After that, a quick burn in the bonfire to take off any factory finish, and spraying with either saline solution or a bleach solution to start the rusting and oxidization process, and you can put your new rustic punched tin lamp shades to use.
Learn what it takes to be creative - we all have the gene but how do we develop it? Get the free guide!
Fill in the form below for your copy;
(Don't be disappointed - use an email address that will accept the free download - some .aol email addresses won't.
If you don't see your download within a few minutes, try again with another email address - sorry for the bother.)
