Rustic Bench
Create a Twig and Barnboard Seat for your garden
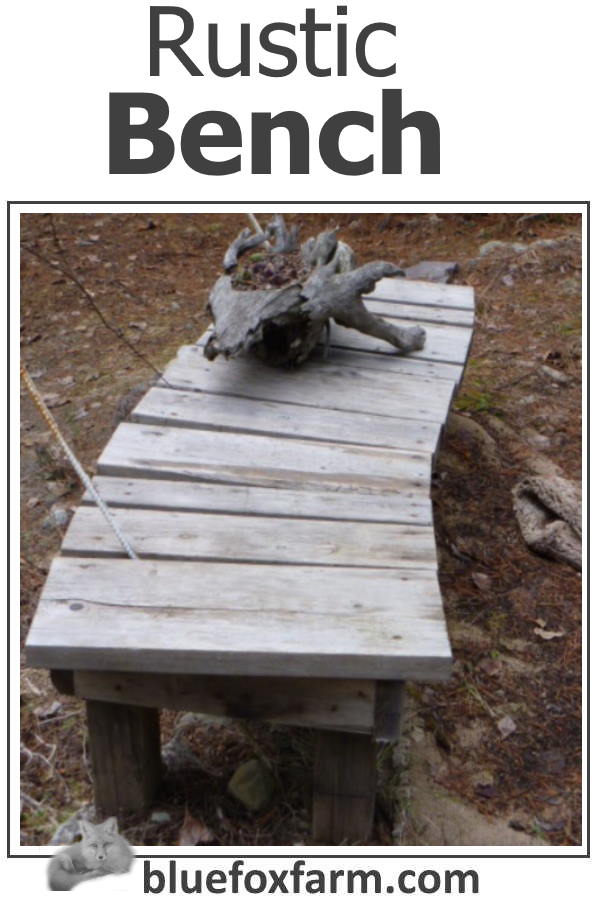
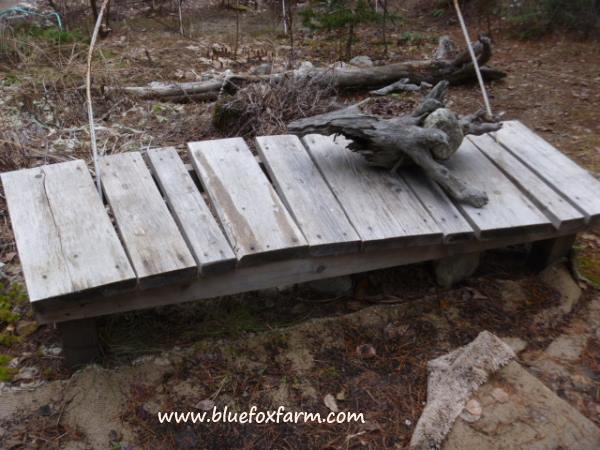
A rustic twig and barnboard bench provides the perfect spot for visitors to the garden to rest and take in the view, enjoy the birds singing and the bees buzzing in the lavender and other flowers.
I make rustic twig and barnboard benches using the native clump maple (Acer douglasii) or willow (Salix species) for the legs, and for the seat and back I’ll use weathered barnboards from various sources.
Any kind of salvaged lumber is fair game - mill ends cut from dimension lumber, 4x4 posts, old barnboard...whatever is around, I'll make a rustic bench with it.
In some cases, the weathering is natural, and in others I have duplicated the look using paints and distressing techniques.
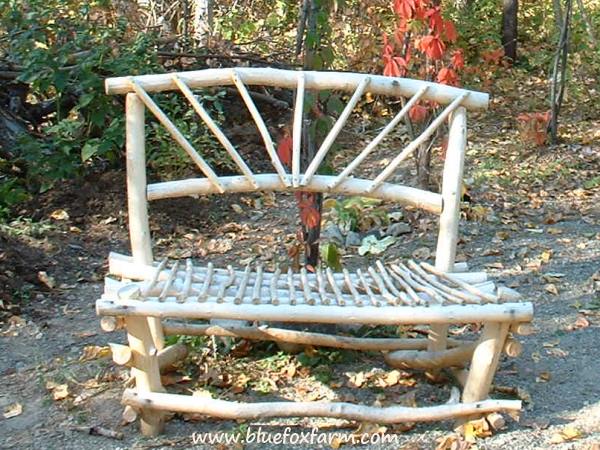 Rustic Peeled Willow Bench
Sometimes I leave the bark on the legs, as the maple resists peeling at certain times of the year.
Eventually, it may peel off to reveal the bronzy colour of the underlying wood. In time, this too will weather to a uniform silvery grey to match the barnboards.
In early spring, it's possible to cut willows at just the right time, when the bark slips, and they're really easy to peel. You can see more about Salix twigs and how to use them in crafts.
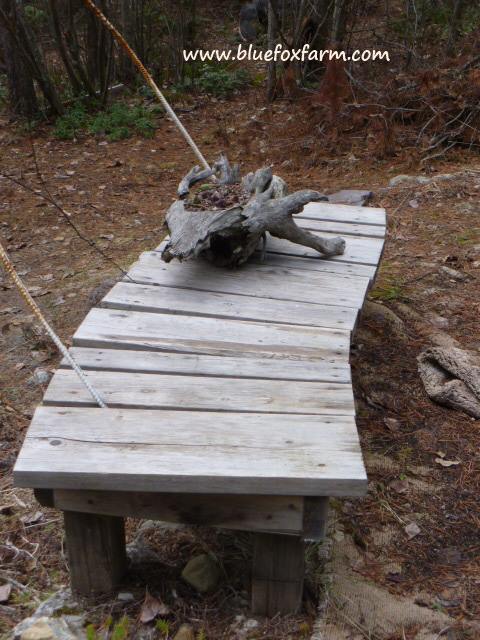
How to make a Rustic Bench:
Tools you will need:
- Tape measure in metric increments
- Cordless drill
- Small hammer
- Ardox twist nails in several sizes
- a saw, carpenters saw or electric jigsaw - see more about tools for twig crafts here.
Start by determining the size you want your bench to be. The most comfortable height for most people is around 40cm (16"), and a depth of around 50cm (20"). This allows for cushions to be added for comfort, yet is still a good size if left without cushions.
Depending on the length of the available barnboards, a comfortable size for two people to sit side by side is 100cm (3 - 4').
Cutting guide for the Twig and Barnboard Bench:
Cut two front legs with the larger end for the lower end. These should be 40cm (18").(For an alternate design with armrests, cut the front legs at 60cm (24"), and two armrests at 70cm (2'6"))
Two back legs can be longer so you can install a back rest, so these can be 70-80cm (2'6" - 3'), depending on the supply of twigs.
Four side pieces of 60cm (2') – two of these can be smaller diameter, and even be forked if you wish for an extra point of attachment.
Two front pieces and two back pieces of 100cm – again, two of these for the lower piece can be forked.
One backrest – this can be a special piece, with a curve, or gnarly. Keep in mind that you will have to lean against it, so not too rustic.
To put all these together, you need a level area, concrete patio or shop floor is best so your project will be level. I’ve had good success using a lawn area, especially in the winter covered with packed snow.
Start with one back leg, one front leg and two side pieces and lay them on the ground in a square with the legs on the bottom overlaid with the side pieces – the lower one can be a forked one.
Assemble them by drilling a hole through the top piece and part way into the bottom. The drill bit should be slightly smaller than the Ardox nail you plan to use.
Carefully tap the Ardox nail through the pieces. You only
have one shot at this, as you will ‘bark’ the twigs if you try and take
the nail out, so be careful not to scrape the wood, or accidentally
hammer the bark as it will leave a mark. Carpenters call these 'elephants footprints' with scorn, so if you have a professional cabinet maker around, avoid this.
Make up both sides, making sure you have one the mirror image of the other. Don’t make the mistake of assembling them both the same way! If you want arm rests, they can be added now.
If you have access to a helper, now is the time to call on them. With the helper holding the two sides, assemble the top front and top back, and the extra top piece for the back rest.
As it goes together, it will get sturdier. Once all the pieces are attached with one nail, go back and drill on an angle and nail another nail into each attachment.
The barnboard seat can be installed, and one or two pieces for the backrest.
You’re done – you can decide if you want to oil or use some other finish, or just leave your rustic twig and barnboard bench to weather naturally in the elements. In some cases, the nails will slowly twist out of the wood as it dries, so check every year and tap them back in.
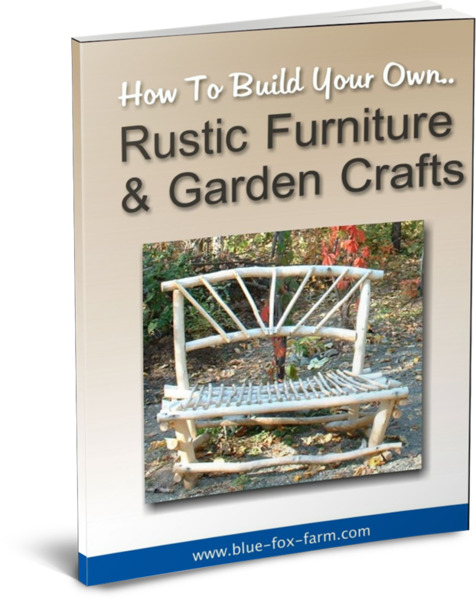
For more great projects, buy the book:
Learn how to build your very own
Rustic Furniture and Garden Crafts;
(Click on the picture and buy your download now)
Learn what it takes to be creative - we all have the gene but how do we develop it? Get the free guide!
Fill in the form below for your copy;
(Don't be disappointed - use an email address that will accept the free download - some .aol email addresses won't.
If you don't see your download within a few minutes, try again with another email address - sorry for the bother.)
