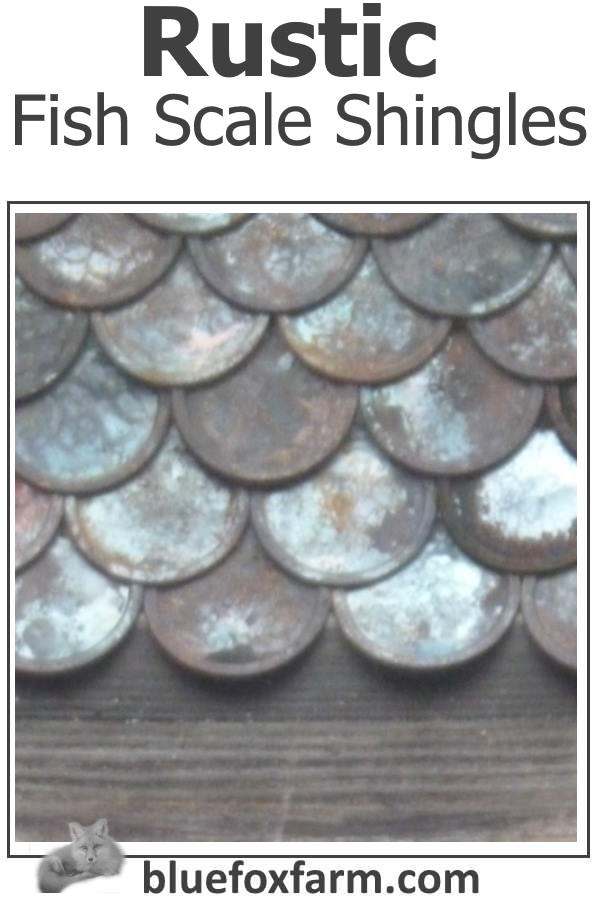
Rustic Fish Scale Shingles
The Classic Cedar Shingle Design, reimagined
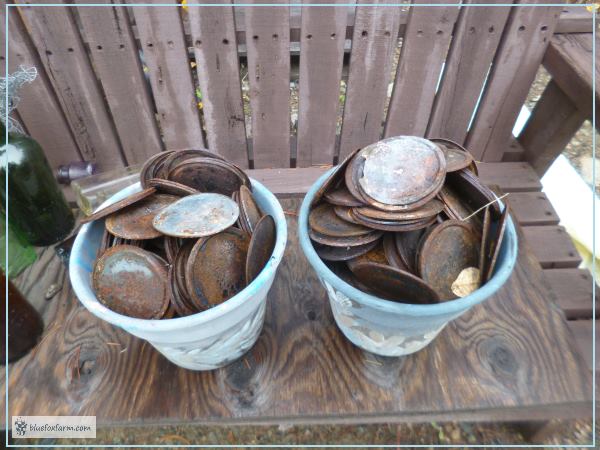
A while ago I burned a whole lot (40 boxes of 12 each) of old mason jar lids in the bonfire. That works out to about six hundred of them - now for a project where I can use them.
The classic cedar shingle pattern of fish scales relies on the scalloping effect of multiple layers of rounded shingles.
They are only rounded on one end, leaving the other end square, which is covered by the next layer in the pattern.
They're attached from the bottom up, each succeeding layer covering the top of the previous one so no part of the backing shows.
Here is my rustic take on the classic pattern, made with the hundreds of mason jar lids. Obviously, being round, they're harder to overlap - this is like a small scale version of the cedar shake shingles.
I've borrowed this technique to cover the upper gable of one of the little sheds I have around the place - this is Bliss, who we built as a catch all storage shed on skids (so we could relocate it when it needs moving) and it's built of 2x4 lumber, with a skin of OSB (Oriented Strand Board) to cover it.
OSB is not very weather proof, even though this has lasted for three years now, it's time to side it with something more resistant to the climate.
This type of shingle cladding will shed the rain and repel snow, even in windy conditions.
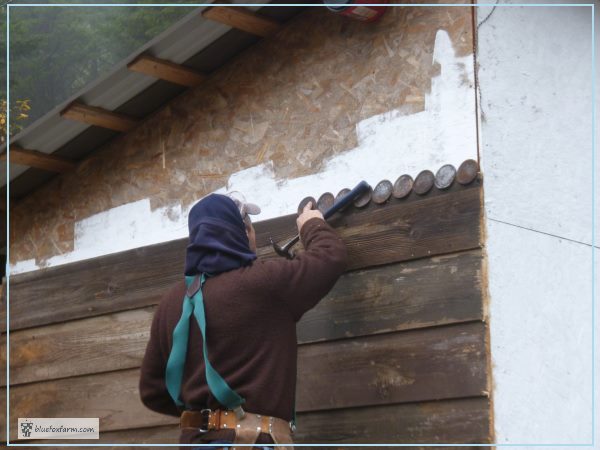
The siding is old recycled channel siding, saved from a demolition job, and stored for years waiting for the right project. The mason jar lids were something I pulled together in the summer, and just waited for the opportunity to use them.
I knew I wanted to do something in a fish scale or dragons scale design, so here's my chance.
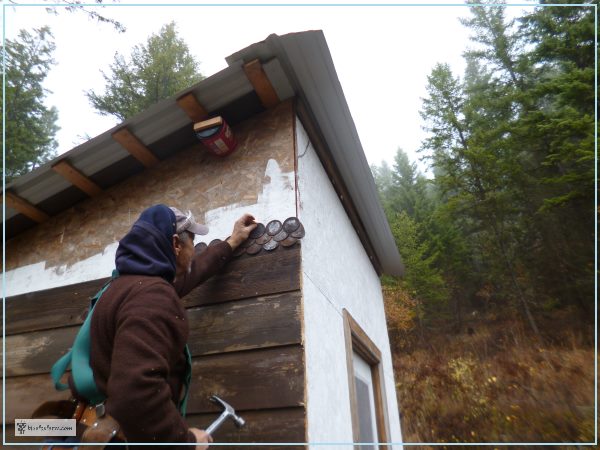
Because me and ladders don't mix so well, it was up to Mike to actually attach the lids in the correct fashion.
The muttering (curses about the wrong kinds of nails, threatening to get the air gun out, complaints about not being able to keep the line straight) made the air blue.
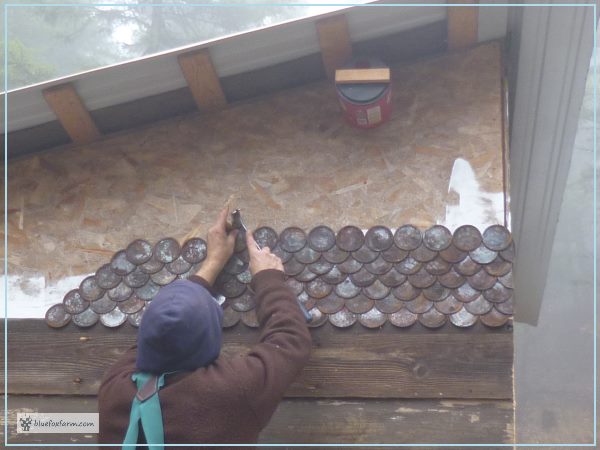
The trickiest part is to not look at the one you've just nailed, but compare the level with the previous few so you don't go off course.
I stood below, itching to try it myself, and got a crick in my neck from looking up at it.
Oh, the downfall of supervising!
The not quite finished project is worth the complaints - and I think he did a great job. What do you think?
Learn what it takes to be creative - we all have the gene but how do we develop it? Get the free guide!
Fill in the form below for your copy;
(Don't be disappointed - use an email address that will accept the free download - some .aol email addresses won't.
If you don't see your download within a few minutes, try again with another email address - sorry for the bother.)
