Rustic Paint Techniques
Aging and Weathering your Rustic Crafts
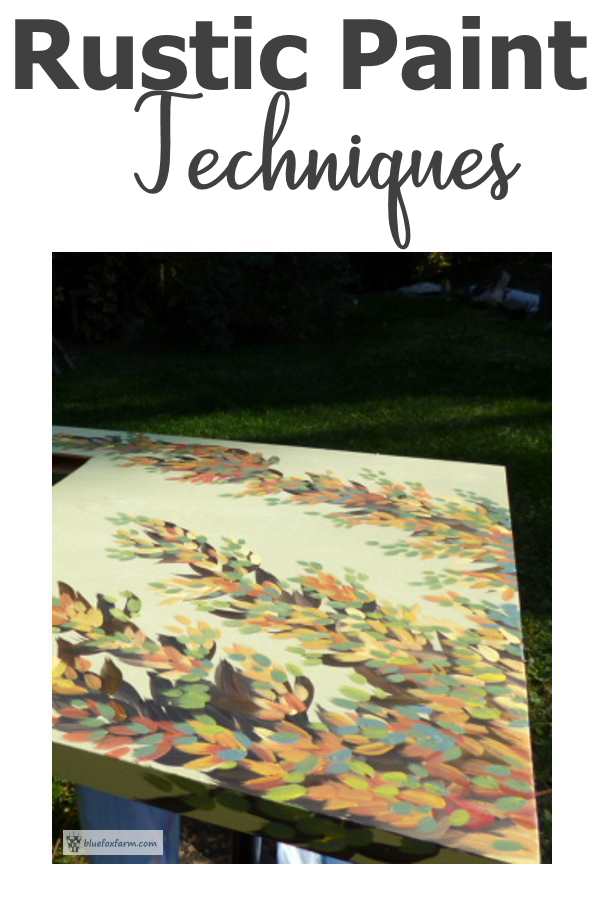
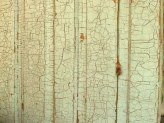
Rustic paint techniques run the gamut from crackle paint techniques to weathering and distressing, whatever it takes to give my crafts age and charm.
I use many of these in my rustic crafts, from rustic garden signs to rustic wooden boxes.
Learning how to make things look old even if they’re not can add a whole new dimension; it’s a lot cheaper and takes less time than the real thing as well as a lot of fun.
Crackle paint techniques are easy to do, and require only a few basic supplies.
A good place to start is with a small project like a key board using a scrap piece of lumber and some salvaged nails.
A twiggy handle adds the finishing touch to the project.
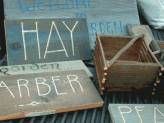
Other easy rustic projects like rustic wooden boxes and rustic garden signs that benefit from these paint techniques can be painted with country sayings.
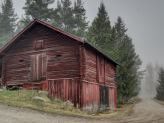
Weathering and distressing the boards before you build your rustic craft, then again after to give it a well used and well loved look is the key.
Think like Mother Nature – how would the wind and rain add that weather worn look to your item?
Supplies for Rustic Paint Techniques
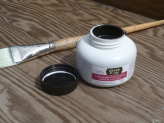
I use acrylic craft paints from the dollar store – for under a buck, you can get many beautiful colours, or simply get white, black, red, yellow and blue and mix all the colours of the rainbow yourself.
I
mix mostly my own colours using the basic primary colours; the only
problem with this is that it’s hard to match an existing colour and try
and mix the same one again.
Wax paste such as that used for furniture polish can be used for a different crackle paint technique.
It can also be used as the final coat on some items to protect the finish once you have it where you want it, or done on only the edges of a piece it can repel the coat of paint on top, leaving a distressed look.
Water based Varathane sealer – I use this on many of my crafts,
including painted wooden doors, which lasts for years even in the
weather and full sun.
Elmer’s White glue – use this for crackle paint techniques instead of buying the expensive crackle mediums that are available. Try those if you like, but use them up quickly as they dry out in the can or bottle.
Paintbrushes – I use mostly natural bristle, especially for the lettering on signs.
For larger areas, find the cheaper four to a package trim brushes for acrylic or latex paint in the hardware store.
Pull on the bristles to remove any loose hairs before using the brush.
You’ll need rags for wiping off or applying base coats of paint, using as a tack cloth, lightly dampened or for applying wax or other finishes like oil based stains.
Old t-shirts cut or torn into smaller squares are good – avoid any material that will leave lint on your craft or you’ll need to sand them off.
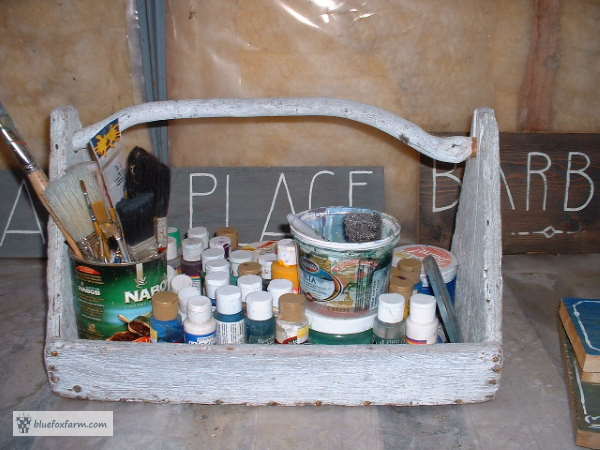
Keep these supplies in a kit so you can easily tackle your rustic crafts as the mood strikes.
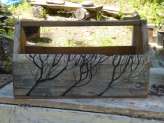
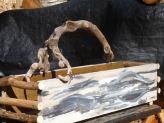
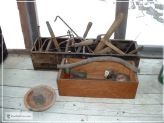
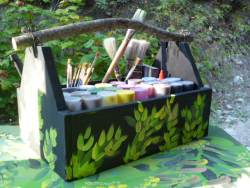
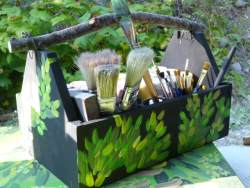
Test the paint techniques on a twig handled trug like this one or the one below to store your painting supplies in.
Sponges are incredibly useful for applying paints; I simply use a discarded piece of latex foam, or you can get cellulose sponges in the dollar store for dish washing and cleaning purposes.
Sandpaper – get several grits from extra fine to coarse. You’ll need several different ones for achieving the different looks you want.
Steel wool – don’t get steel wool wet as it will rust; always store in a dry place.
Several grades from extra fine to medium will be most commonly used.

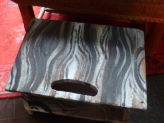
I found a shoe polishing caddy at the recycle center, and painted it with my camouflage technique, and added a rustic twig;
 |
 |
Learn what it takes to be creative - we all have the gene but how do we develop it? Get the free guide!
Fill in the form below for your copy;
(Don't be disappointed - use an email address that will accept the free download - some .aol email addresses won't.
If you don't see your download within a few minutes, try again with another email address - sorry for the bother.)
