Get the e-Book
Come into the garden and find some twigs - then, let's build! They can be rugged and rough, or more refined and smooth.
Whatever they look like, there's a craft for that.
- Home
- Rustic Crafts
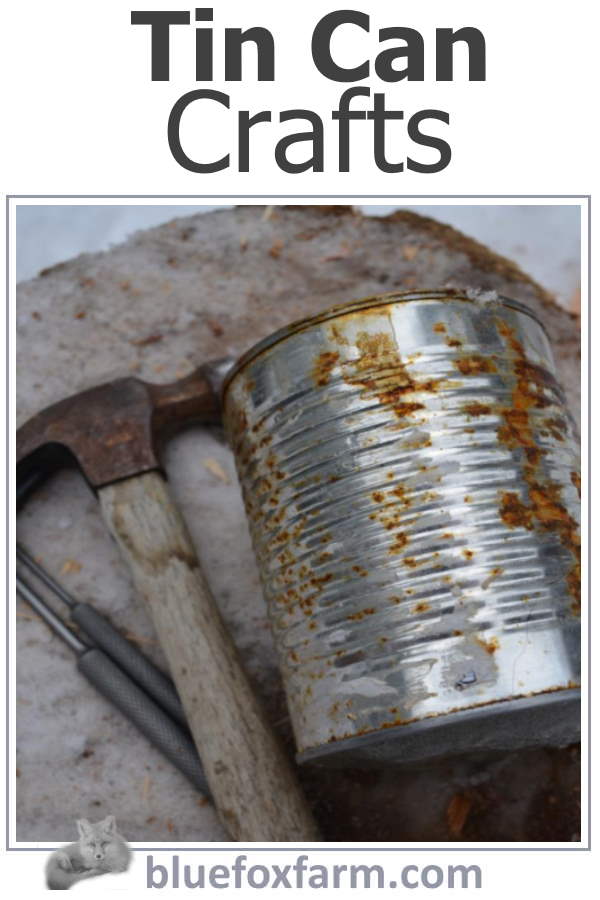
- Tin Can Crafts
Tin Can Crafts
Upcycling; Trash to Treasure
Tin can crafts are the ultimate trash to treasure – literally.
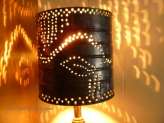
Taking a coffee can or one that had beans in and making punched tin lamp shades, or a pie safe with punched tin designs in the doors is an old time craft that resonates today.
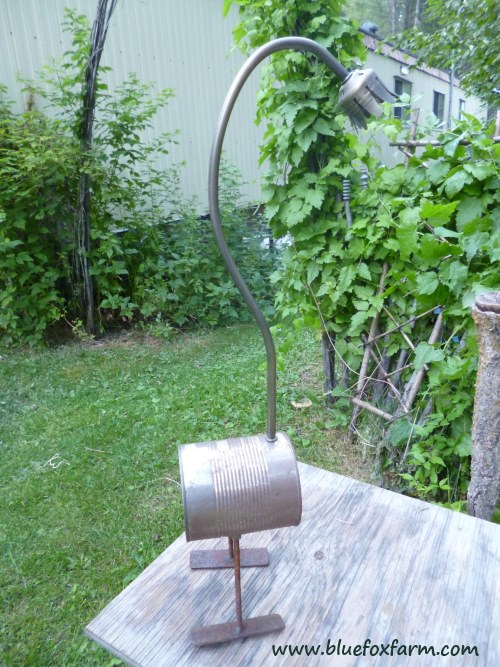
These crafts made from tins are gorgeous!
Tin punching originally was a way to decorate mundane everyday objects using recycled materials, long before it was even in vogue.
Our grandparents and their parents simply used whatever was around to embellish their homes, and tin can crafts are a great way to do this.
With a few simple motifs, it's possible to create some intriguing country crafts, without breaking the bank to do it.
Aluminum can crafts that you can make for the garden are plant labels – take a pop can and cut (carefully as the edges are sharp) into a shape, crimp the edges with pliers.
Then use a screwdriver or other sharp implement to write the names on. This gives you an eternal and everlasting labeling system, useful for those of us that continually ask what that gorgeous plant is.
Punch a hole through the top of the label and hang it on a piece of coat hanger wire near the plant.
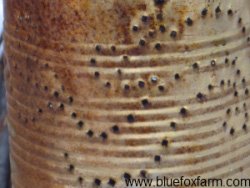
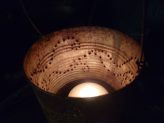
Making punched tin lanterns out of a can is simple.
To keep the can from losing its shape as you punch the sharp end of a nail into it, fill it with water and freeze.
Use freehand designs, or copy a repetitive motif like a leaf shape, simple flower, or just use geometric shapes.
Try and avoid too many holes close together as this weakens the metal.
Tin punching is a satisfying way to get an almost instantly effective look. Rustic country décor and western style decorating most suits the look of punched tin.
Tin punch designs can be found everywhere; whatever your interest or hobby, you can make a punched tin design from it.
Old fashioned patterns that appealed to our forebears were taken from nature; foliage, flowers, bird shapes, or other designs that were in fashion at the time, such as paisley shapes, or just a leaf, repeated over and over, or mandala designs, with a circular pattern filled in with texture created by using different sized punches or nails.
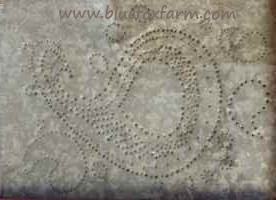
Supplies for punching tin:
- A wide selection of sharp nails
- Small hammer
- Board or table that can withstand some damage from the points of the nails if you’re punching a flat surface
- Flat metal like flashing or galvanized metal roofing (flashing is thinner, and may be easier to work with, but requires a backing of some type for stiffness)
- Tin cans in several different sizes if you want to make tin can lanterns
Once the actual tin punching is done, turn the piece over and hammer the sharp points where the nail emerged on the back.
Above all, use care when doing tin punching or any metal work, as the burrs and edges of the metal will be sharp.
See the rustic craft safety page for more tips and hints
If you're curious how broken pots, twigs and wire combine into magic, let's explore creativity in action.
Fill in the form below for your copy;
(Don't be disappointed - use an email address that will accept the free download - some .aol email addresses won't.
If you don't see your download within a few minutes, try again with another email address - sorry for the bother.)
