Twig Coat Hooks
Rustic Mudroom Ideas
Jacki Cammidge is a participant in the Amazon Services LLC
Associates Program, an affiliate advertising program designed to
provide a means for sites to earn advertising fees by advertising and
linking to amazon.com. Other links on this site may lead to other affiliates that I'm involved with, at no extra cost to you.
When you have a mudroom, you absolutely have to have a place to hang coats. Why not make it twig?
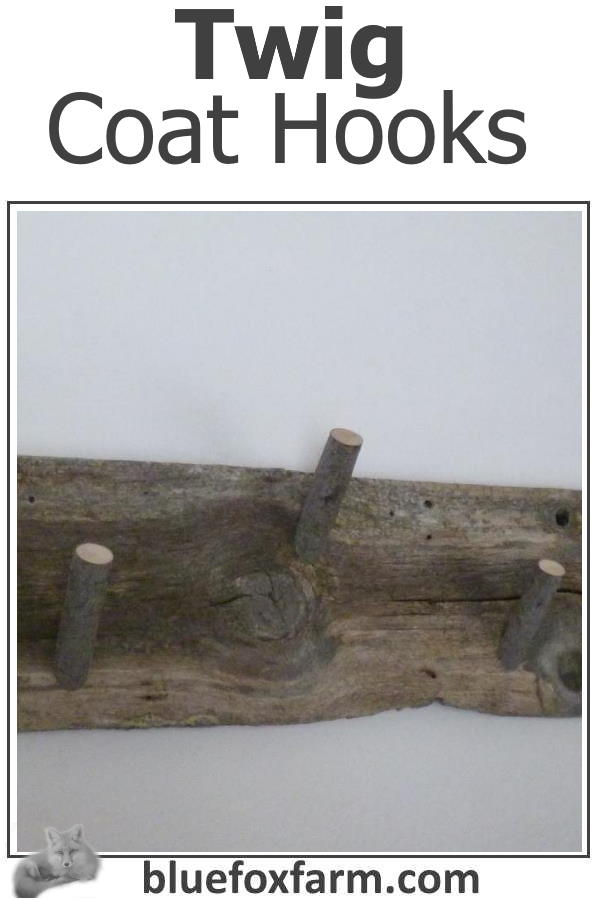
Salvaged from the burn pile, this ancient and very characterful barn board was almost too rickety and damaged to use - but I thought of a way to make it much more sturdy.
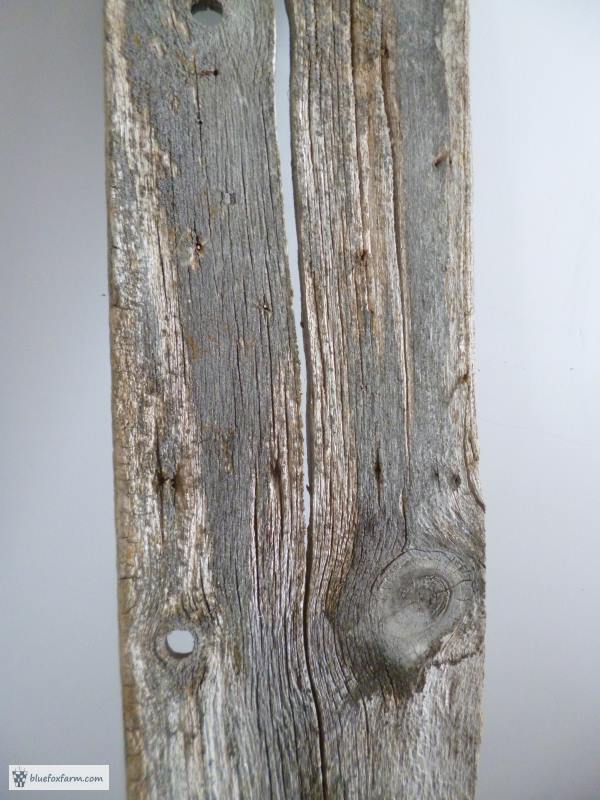
I painted a piece of plywood in mat black craft paint. The two pieces were then dealt with as one.
It's not actually attached, but the screws holding the twig coat hooks hold the two pieces - barnboard and plywood - together.
Two coats of my favorite water based varathane sealer went on, drying in between each coat.
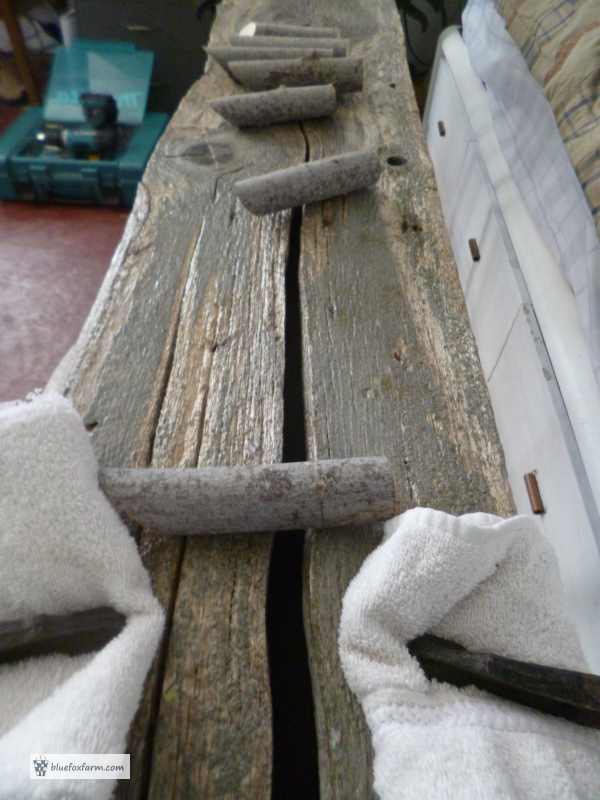
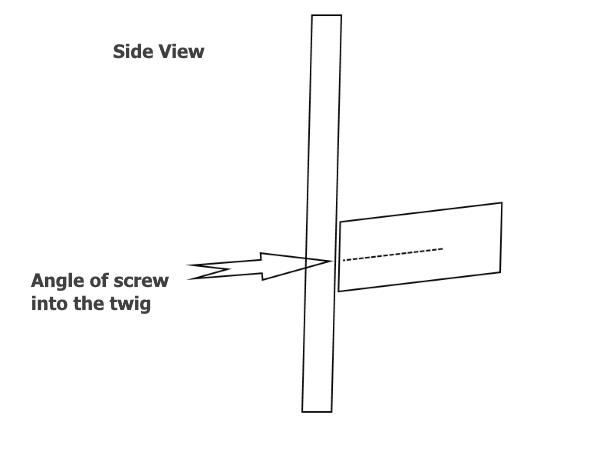
A long piece of maple which had been looking for a project, was cut into lengths. They were about six inches long, and one end was cut straight across, the other on a 45 degree angle.
The angled end had a pilot hole drilled into it, so the screws won't split the twig.
We used four inch deck screws for this, so there is no chance of it coming apart.
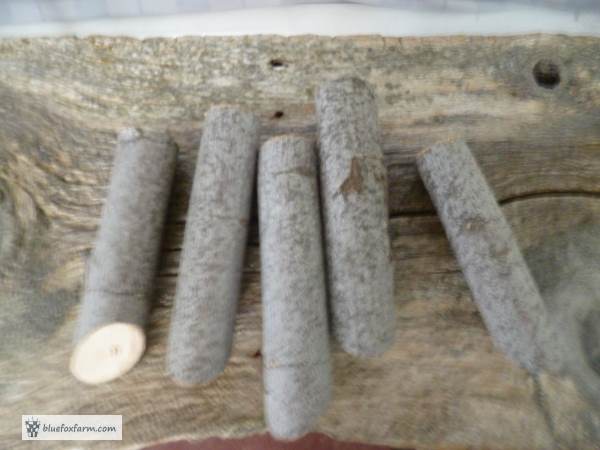
We decided to use six hooks spaced out evenly, and alternating up and down on the board, to give more room for all the coats and hats.
The two pieces of wood were clamped together while we attached the hooks so they wouldn't move.
The hooks (twigs) are cut on the angle they'll be in on the finished coat rack, and held in place while drilled and screwed from the back.
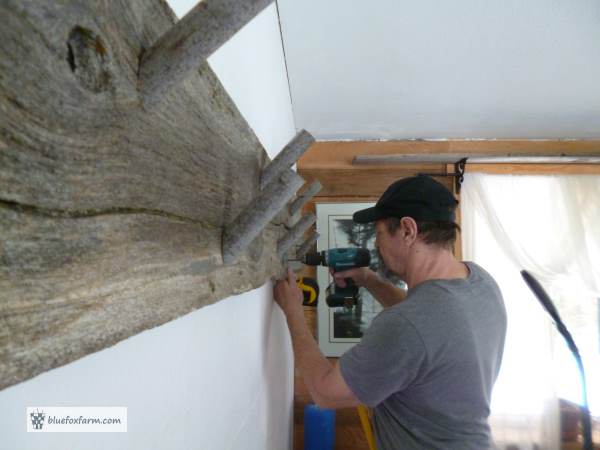
Finding the studs in the finished wall was a bit of a challenge, but once we found one, we could measure over 16" to the next one - the benefits of using a standard measurement while building!
Mike pre-drilled the holes in the barnboard to prevent further splitting, then used black casement screws to attach it to the wall in at least six places - those winter coats can get heavy!
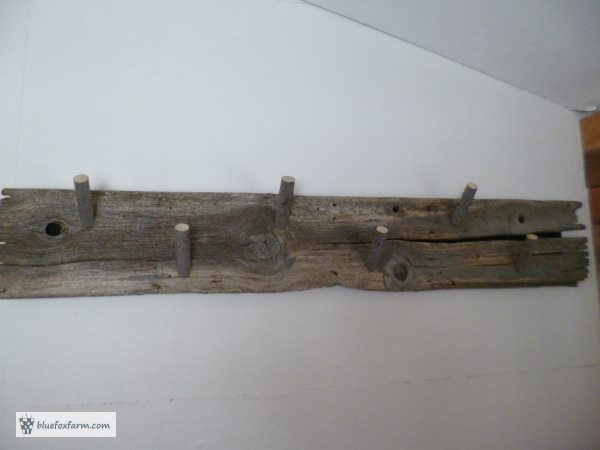
Finished and ready for use - I almost hate to cover it up with coats - that old piece of barnboard adds so much character to our home decor.
Learn what it takes to be creative - we all have the gene but how do we develop it? Get the free guide!
Fill in the form below for your copy;
(Don't be disappointed - use an email address that will accept the free download - some .aol email addresses won't.
If you don't see your download within a few minutes, try again with another email address - sorry for the bother.)
