Wire Techniques for Crafts
Methods of Salvaging and Using Wire in Your Rustic Crafts
Jacki Cammidge is a participant in the Amazon Services LLC
Associates Program, an affiliate advertising program designed to
provide a means for sites to earn advertising fees by advertising and
linking to amazon.com. Other links on this site may lead to other affiliates that I'm involved with, at no extra cost to you.
Wire is one of the most valuable materials for making rustic crafts.
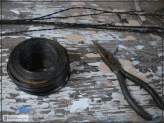
From twig crafts like twig fences to trellises, I use tie wire primarily, as it’s easily available at hardware stores, but sometimes you can find wire even cheaper on junk piles and garage sales.
Look for the multi ply type wire used for stringing power lines or phone lines, or electrical cable that has a plastic coating on it.
All of these types of wire can be used for rustic crafts – never overlook any kind of wire even if it seems daunting to figure out how to prepare it for use.
Here are a few easy techniques for using wire in your crafts:
Annealing Wire
Most copper wire has an interesting property; once it’s bent into a shape it becomes extremely difficult to re-bend it, as the wire itself actually becomes harder. You can anneal copper wire by wrapping it in newspaper which is then lit on fire.
After it cools, the wire can again be easily bent.
Aluminum wire is always soft enough to bend so doesn’t require this process, which is why many bonsai artists now use it to shape their trees.
Traditionalists insist on copper wire for the way it looks, and ages to show a patina in time, so learning how to anneal wire for re-using is essential.
Pigtail Twist with Wire
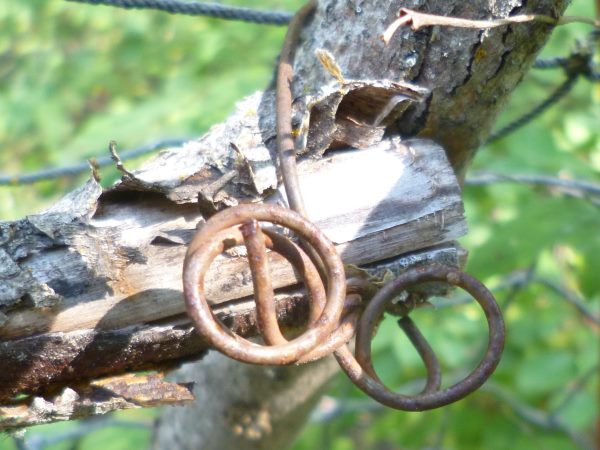
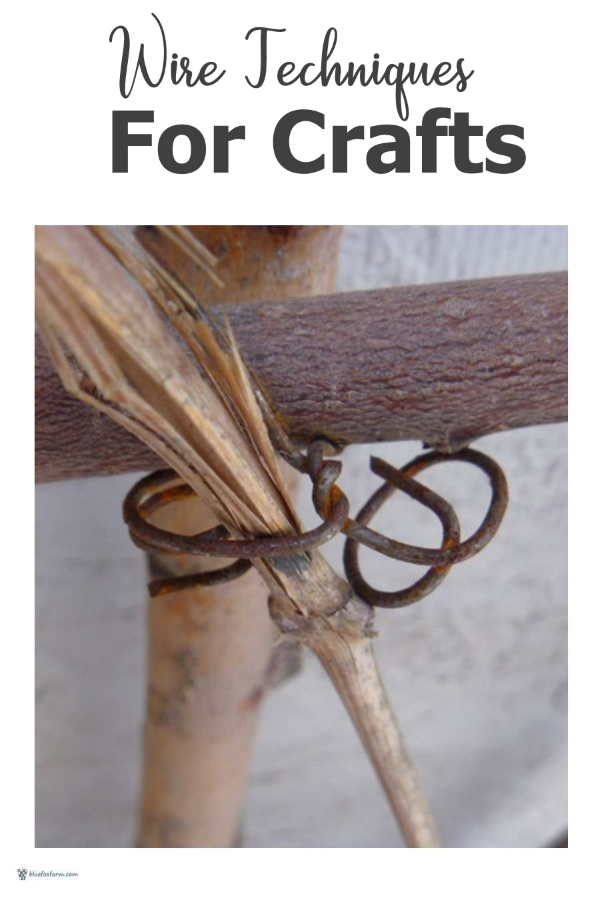
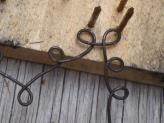
The pigtail twist is a technique I use a lot on many of my crafts – in many cases just because it looks great as a finishing method, and also to prevent the ends of the wire from catching on clothing or worse yet, your skin.
To make a pigtail twist, make sure you deliberately leave enough wire on your crafts – it takes about 2 - 5 cm (1-2") to make a proper twist.
Both ends are twisted separately.
Take the very end of the wire in a pair of needle nose pliers, and twist them around, taking the wire with them.
You will have several twists on the pliers, make sure they’re not too tight or you won’t be able to remove the pliers from the twist of wire.
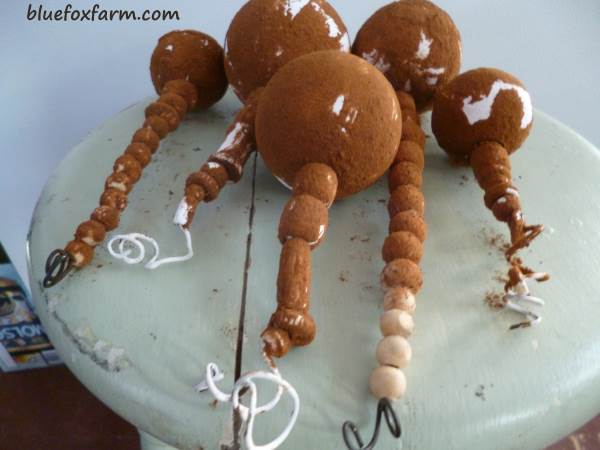
My favorite kind of wire and the easiest to find is Black Tie WireIf this happens, simply twist them back the other way to loosen it. If you’ve ever used a curling iron on your hair, this is the same principle. This is one place I've used the technique;
Untwisting multiple ply wire
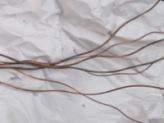
Many times you can salvage long lengths of aluminum wire or copper wire with a plastic sheathing over several plies of wire twisted together.
To remove the sheathing, you can slice it open with a sharp knife, then peel it off.
I also have burned it off in a bonfire, but don’t do this unless it’s stuck on by heat in the first place.
Once you’ve removed the sheathing, place the combined end of the wire into the chuck on a cordless drill. For this I prefer a non-keyless chuck as you can get it tighter.
Simply slowly apply the power – make sure you aren’t winding it tighter – and it will all come apart. Carefully separate the plies, and coil them loosely so you can store them until use.
They may maintain their slightly wavy look, if the original plied wire was very tight. Sometimes the wires are flattened a bit - don't worry, this just makes it look a bit different than the usual round wire, but doesn't affect the strength of it.
Using some of these wire techniques for crafts will make your rustic craft building much easier and fun - salvage and recycle your own wire.
Are you a visual learner? Check out the video;
A transcript of the video;
Okay, this is a little tutorial to show how I do my wiring techniques. The two most important things that I do; wiring two pieces of twig, or barnboard and twig, or whatever, together.
You usually need a piece of wire that's a bit bigger than what you want to end up with because you're going to end up cutting it off, and then I put it around the one piece (of twig) and put the other piece on there, and twist it together just enough to hold it, and then pinch (with the pliers) just above where you cross them over and twist it.
You'll be surprised at how much you need to twist it, but what happens is the twigs shrink because they dry and then the wire gets really loose. So if you can start to see it press into the bark that's perfect.
And then it looks like I got these ones the right length – so you need about an inch or thereabouts and you just start twisting those together so they don't cut into you when you get anywhere near it. And that's it.
Learn what it takes to be creative - we all have the gene but how do we develop it? Get the free guide!
Fill in the form below for your copy;
(Don't be disappointed - use an email address that will accept the free download - some .aol email addresses won't.
If you don't see your download within a few minutes, try again with another email address - sorry for the bother.)
