Hypertufa Millstone
My Largest Garden Art Attempt yet...
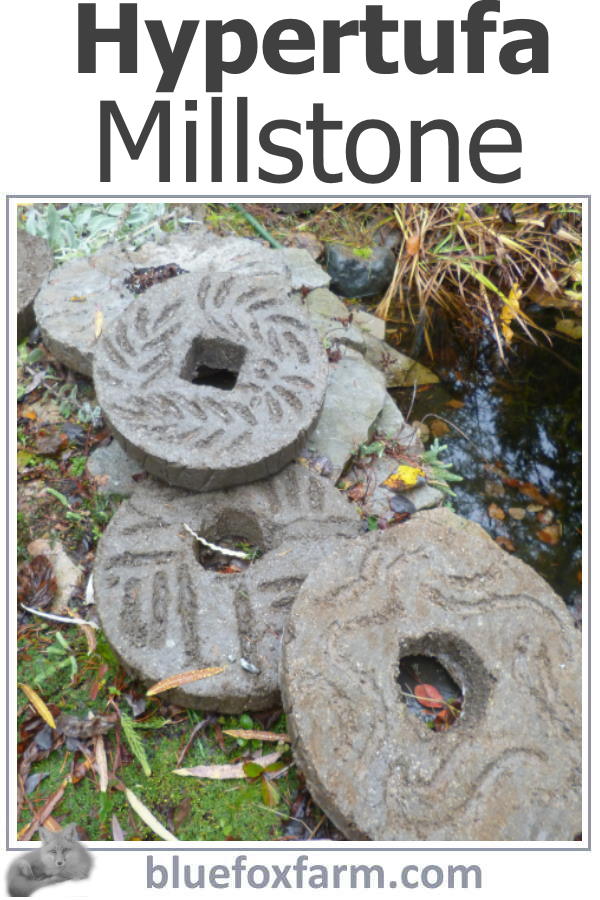
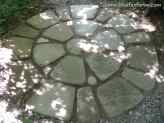
This is the biggest project (although the most simple) that I've attempted, after seeing a beautiful gravel garden with several of these laid over each other step like, with hardy succulents spilling out of the center hole.
I made several of this kind of garden art piece - each one is two to three times larger than anything I've made before.
I will be interested to see what this thing weighs when it's dry and cured - I may need help moving it around.
The trick with something this size is to prepare a site for it in advance, and have it all ready to set it up and don't move it again.
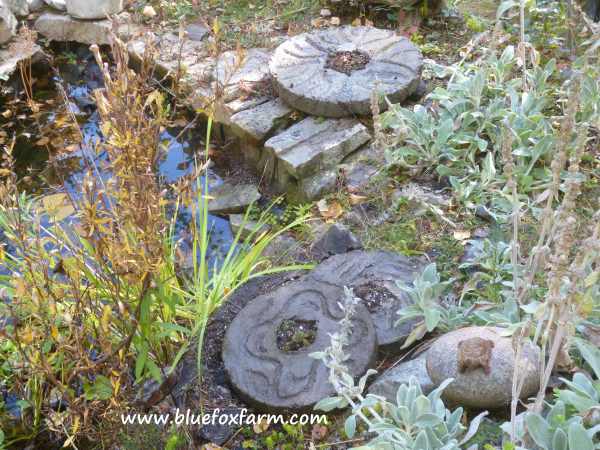
There is now a collection of them beside the ecosystem pond as a display, but they would make good stepping stones of even set into the ground upright as an edging.
Isn't that fabulous? I just had to try to copy them, even though these look like the real thing, I knew that making one out of hypertufa could give it that same rustic look.
Finding the biggest round mold I had was easy - I never throw anything out.
I had a big plastic pond liner, made from fairly rigid poly, so I used that, with the center hole made with a six inch plant pot. I placed the plant pot in the approximate center, and lined the whole thing with very thin poly film.
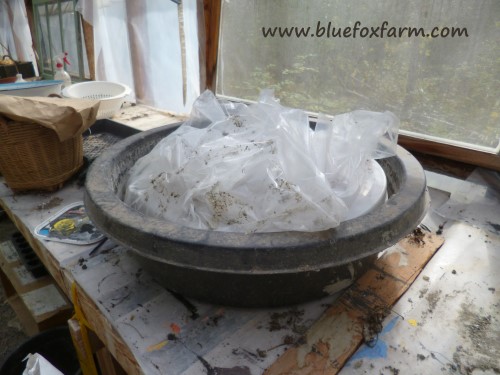
This project took two large batches of my regular hypertufa recipe - a 1:1:1 ratio of peat moss, perlite and Type 10 Portland cement powder.
Once it was mixed, I just started in the center, so that the plant pot would stay basically in the middle, and worked out from there, filling the entire mold with handfuls of the mix.
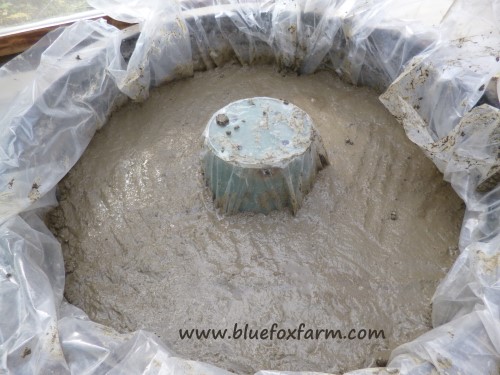
I found a picture of the different kinds of textures that millstones have - there are an astonishing array of patterns, so I made one up. I like these kinds of projects where there are no rules.
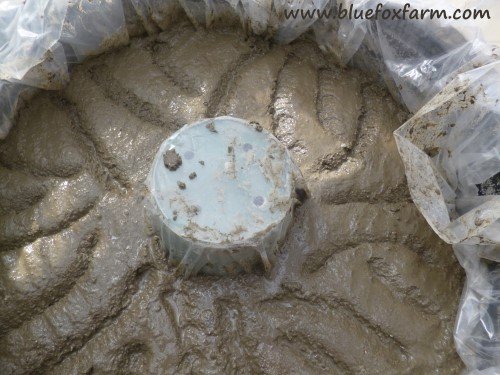
I may have to go over it again, once the mix sets up a bit - maybe tomorrow. Until then, the poly film goes over the top to hold in moisture, preventing it from drying too quickly. I don't know how I will cure something this big - maybe it stays in the mold for a week or two, filled with water.
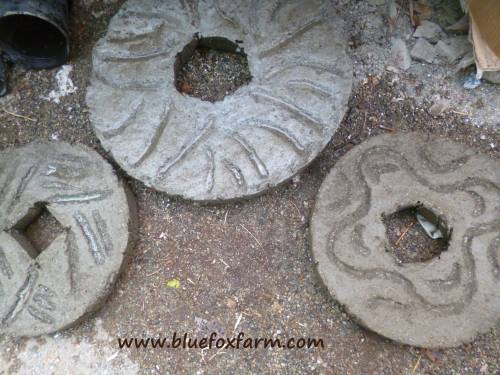
The center holes are perfect for planting with some little stonecrop and hens and chicks. Three millstones are now in place by the pond, looking as though they've always been there.
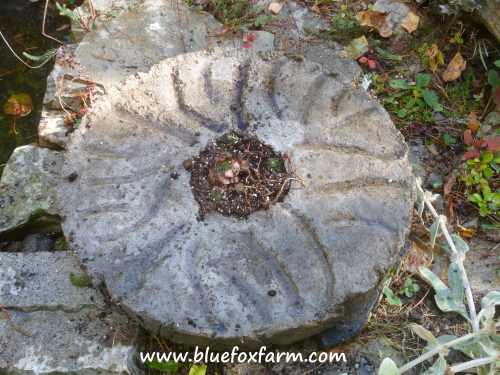
The two smaller ones are nestled together, with a few of their own hens and chicks. Hopefully, moss will soon fill in the marks and make them look really aged.
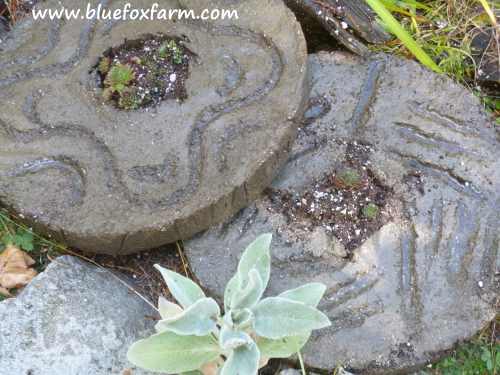
Now they are in place, they'll stay here indefinitely - no pampering these crafts! The plants will fill in and hold them firmly in place.
The patterns that I used for mine were kind of adapted from those I've found on the web. Here's a picture of some different ideas, found on Pinterest;
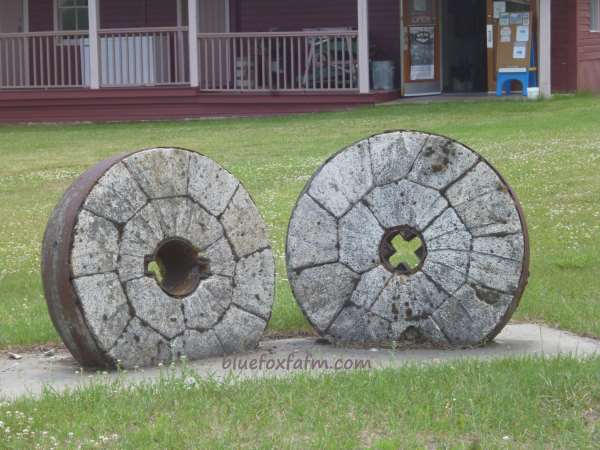
Wanna see the real thing? These are displayed in front of the mill (yes, a real flour mill) in Grand Forks, B.C. These are probably made of cement, not hypertufa, and they're bound around the outside with a metal band.
They would have retired these from service a long time ago, as the stone chips and wears off, leaving tooth-breaking pieces in the flour.
Another really old millstone is at the Clay Design Inc farmstead. It dates back to the late 1800's, when it was used to mill grain using the power of Palmer Creek, Central Hampstead, New Brunswick, Canada.
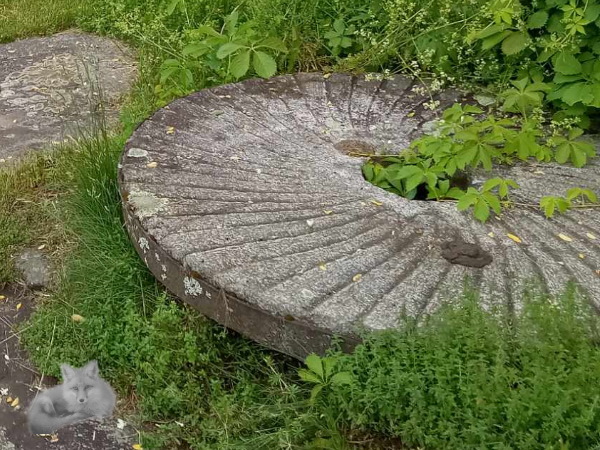
You can see how the grain would move from the outside to the center, to be dropped into a container for storage, or bagged for sale.
Notice that the outside of the stone is also banded with metal, but the whole thing is a lot thinner. It would still weigh a lot though! This one is about four feet across, and has been out in the elements for a long time, judging from the lichen growing on it.
Learn what it takes to be creative - we all have the gene but how do we develop it? Get the free guide!
Fill in the form below for your copy;
(Don't be disappointed - use an email address that will accept the free download - some .aol email addresses won't.
If you don't see your download within a few minutes, try again with another email address - sorry for the bother.)
