Hypertufa Strata Planter
Don't have access to rocks? Make your own alpine garden in miniature
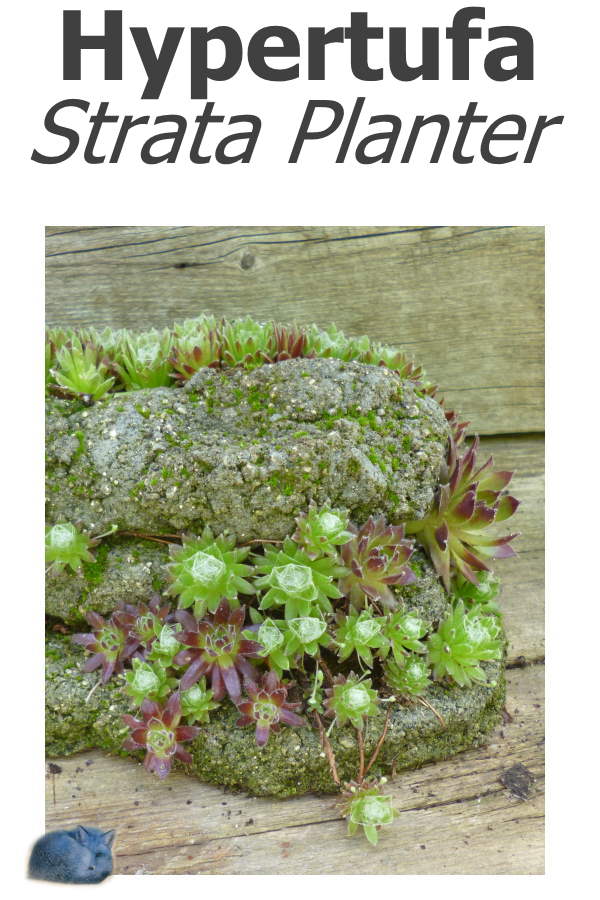
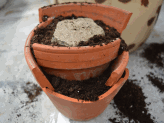
Making hypertufa strata planters is similar to hypertufa fissures, but horizontal instead of upright.
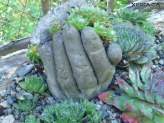
These are made specifically to plant Sempervivum or other hardy succulent plants in. With the tiny amount of soil available, only really tough plants will survive.
I use the tiny species of Sempervivum, such as Sempervivum arachnoideum ‘Encader’, or Sempervivum montanum minimum.
Once established, the roots of these plants will hold fast to the rough surface of the hypertufa, and the plants thrive on the well drained conditions, only needing the occasional light fertilizing with compost tea or something similar.
The soil mix used is a peat based product with a water holding polymer, but you can use what you have available - keep in mind that weeds can be a problem in soil that's not pasteurized, even if it is only a teaspoon or so.
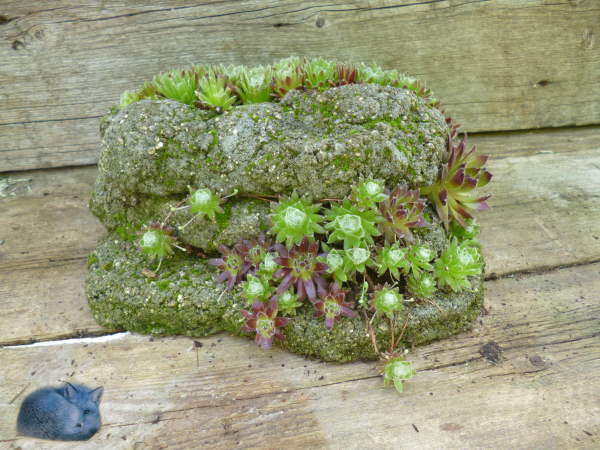
Any of the tiny clustering types will work, as well as the miniscule Sedum species such as Sedum griffithsii, or Sedum pluricaule.
Adapted to high mountain crags, these plants will survive quite well tucked into the fissures and cracks of your hypertufa strata planters.
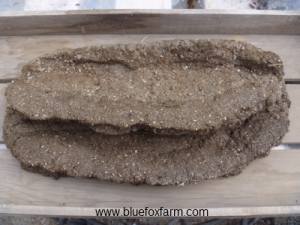
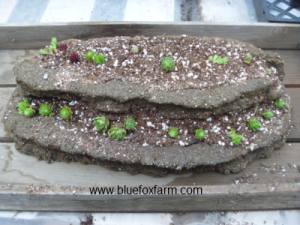
Start with a couple of handfuls of hypertufa mix. It should be quite pliable and wet, not crumbly. Pat this into a pancake on a piece of plywood covered in 2 mil poly.
A couple more handfuls of mix are placed on one side, and made into a line right on the edge of the pancake.
Roll up several sheets of newspaper into a tube. Put this alongside the line of the mix.
Cover with more mix, blending it into the line that’s already there.
You can make one more layer in a similar fashion, using more newspaper.
This is a very delicate procedure, and the hypertufa strata planter must be left covered to cure for several days. After this time, carefully place it in a water bath.
Leave the newspaper alone, and basically it will disintegrate in the water. Don’t try and pull it out as this usually shatters the layers.
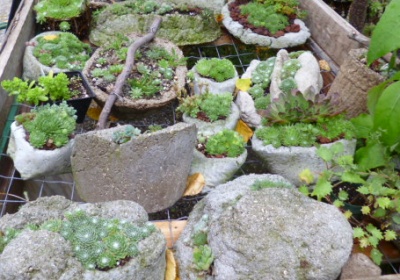
Curing hypertufa strata planters will take a week or more – don’t rush this phase or pieces break off when you handle it.
Once the hypertufa feels as though it’s set up and hardened, you can carefully fill it with fast draining soil mix and plant the hardy succulents of your choice in between the layers. The end result is a charming little display reminiscent of high alpine peaks.
As time goes on, the peat moss in the hypertufa mix will start to be colonized with moss - when it dries, as it will in the summer drought, it's easy to remove it, if you don't like the look.
Learn what it takes to be creative - we all have the gene but how do we develop it? Get the free guide!
Fill in the form below for your copy;
(Don't be disappointed - use an email address that will accept the free download - some .aol email addresses won't.
If you don't see your download within a few minutes, try again with another email address - sorry for the bother.)
